As usual a couple steps forward combined with a step or so backward.
We removed the airplane from the rotisserie (so we could access the firewall).
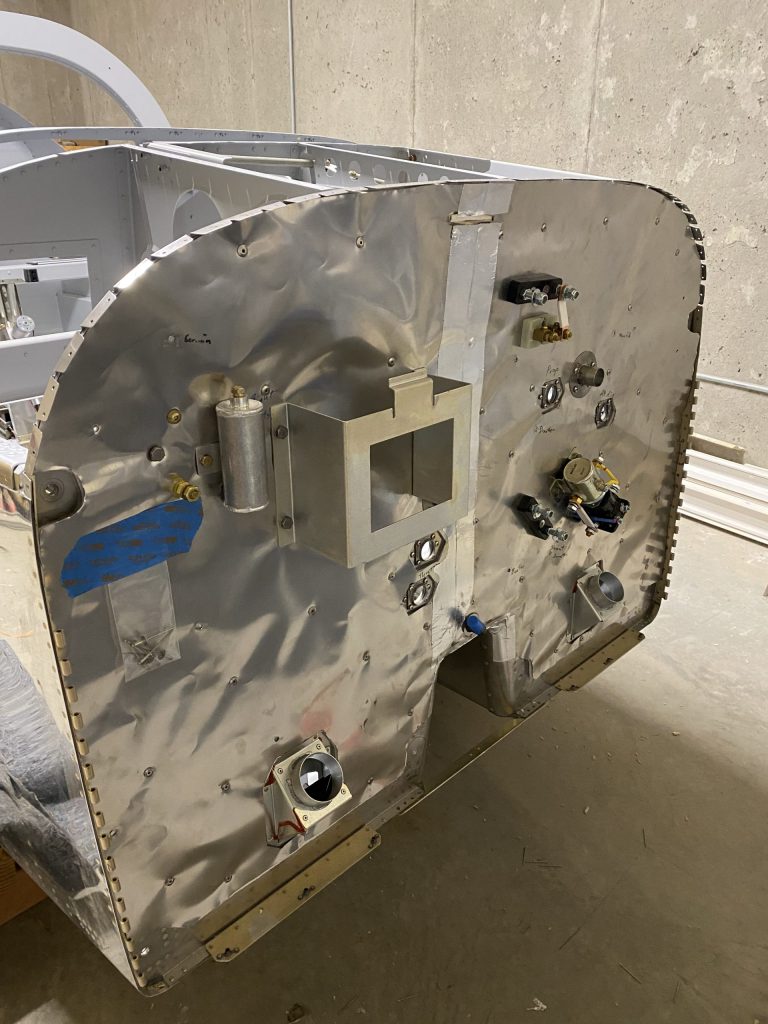
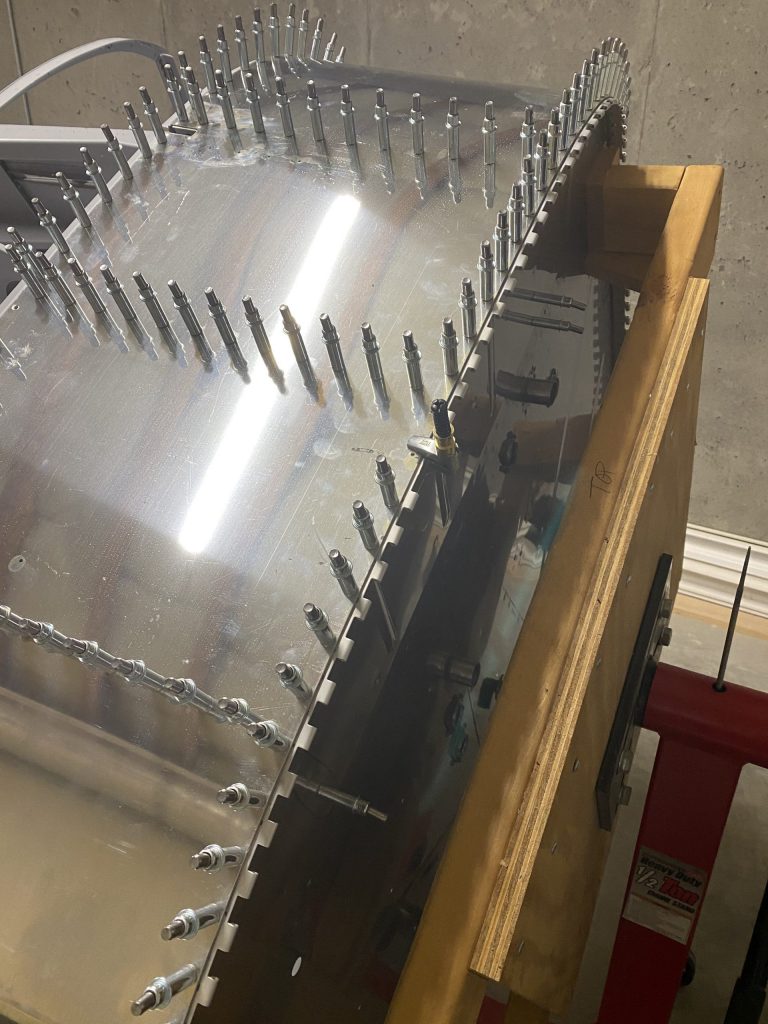
We worked on the stainless steel/fiberflax barrier for the firewall. This is designed to prevent a firewall forward fire from penetrating the cockpit. The challenge is that there are all kinds of penetrations that have to be cut out. Stuff like the master solenoid, the starter solenoid, the brake master cylinder, and various other components that are either mounted on the firewall or pass through the firewall.
There were also about 50 stainless steel rivets to install that hold the insulation “sandwich” to the aluminum firewall itself.
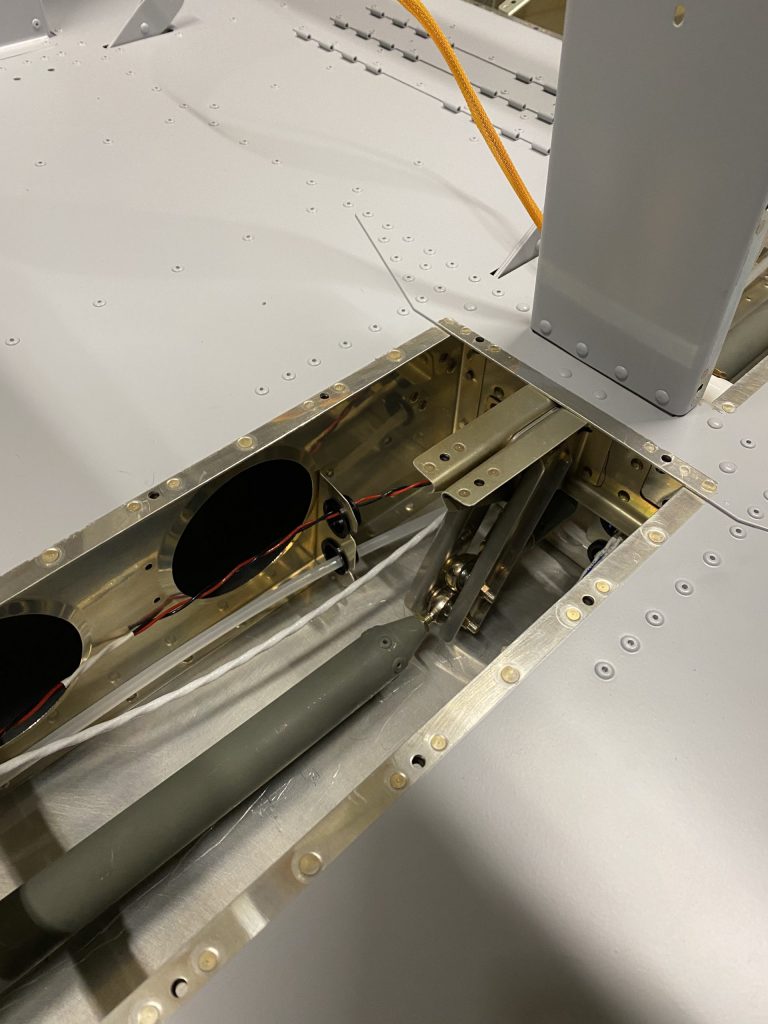
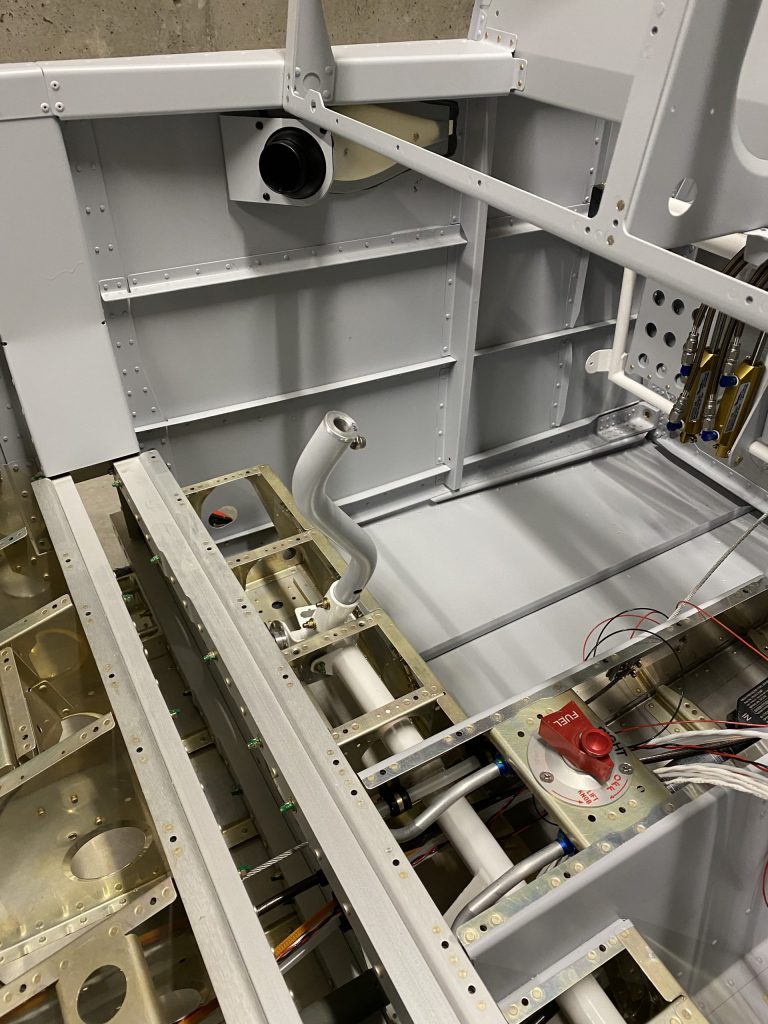
I installed the idler arms and linkages for the elevator control tubes. Not that difficult though I spent a fair amount of time getting washers and nuts all lined up in a fairly confined space.
I put the left stick together (twice since I initially had it backward) and installed it in the airplane. I will do the right stick next time I am in the workshop.
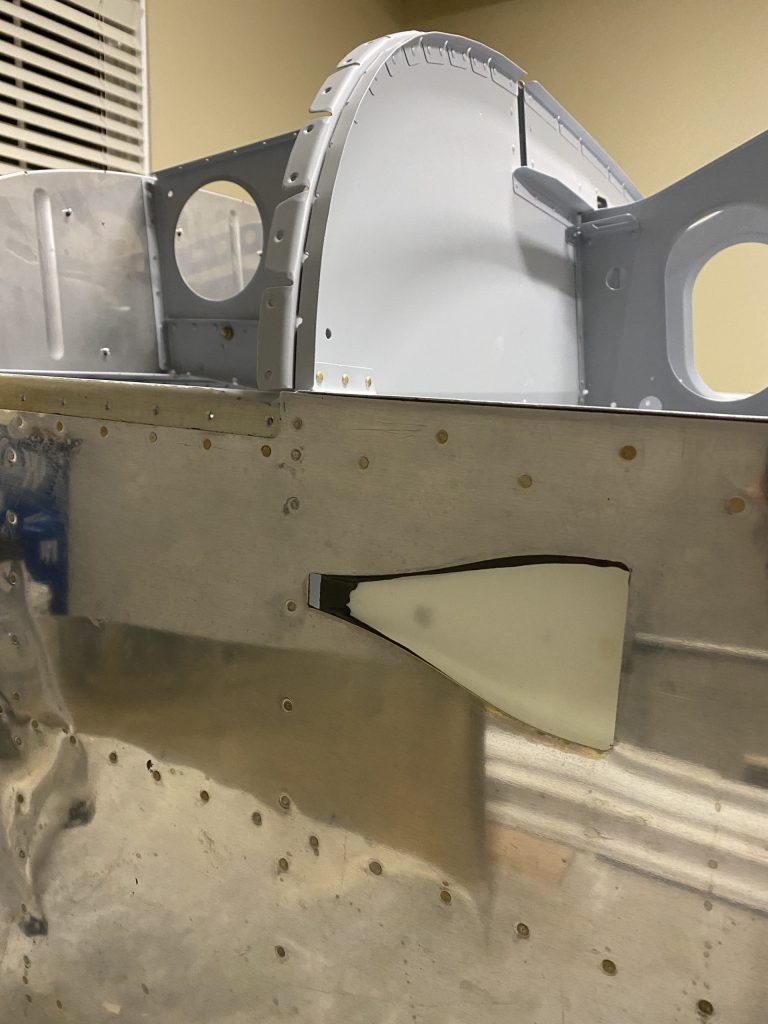
This is where I made my mistake that will require ordering more parts from Van’s. The top forward edge of the firewall has a piano hinge that is used to secure the back of the engine cowling. I carefully followed the directions but ended up with the holes too close to the edge of the hinge (I contend the plans have an error in them). The part is only $17 and I will add it to the finish kit which is being crated as we speak. Hopefully, I will have it in two weeks.
I also found an “oops” from a previous work session (NACA vent moved).
I got word that the Lycoming Thunderbolt engine that was originally supposed to arrive in March is now scheduled for May. Not too bad since I suspect I won’t be ready until late April anyway.
Propeller should be sooner. Also the interior (seats, stick boots, side panels etc.) should arrive from the manufacturer in Europe in about three weeks.
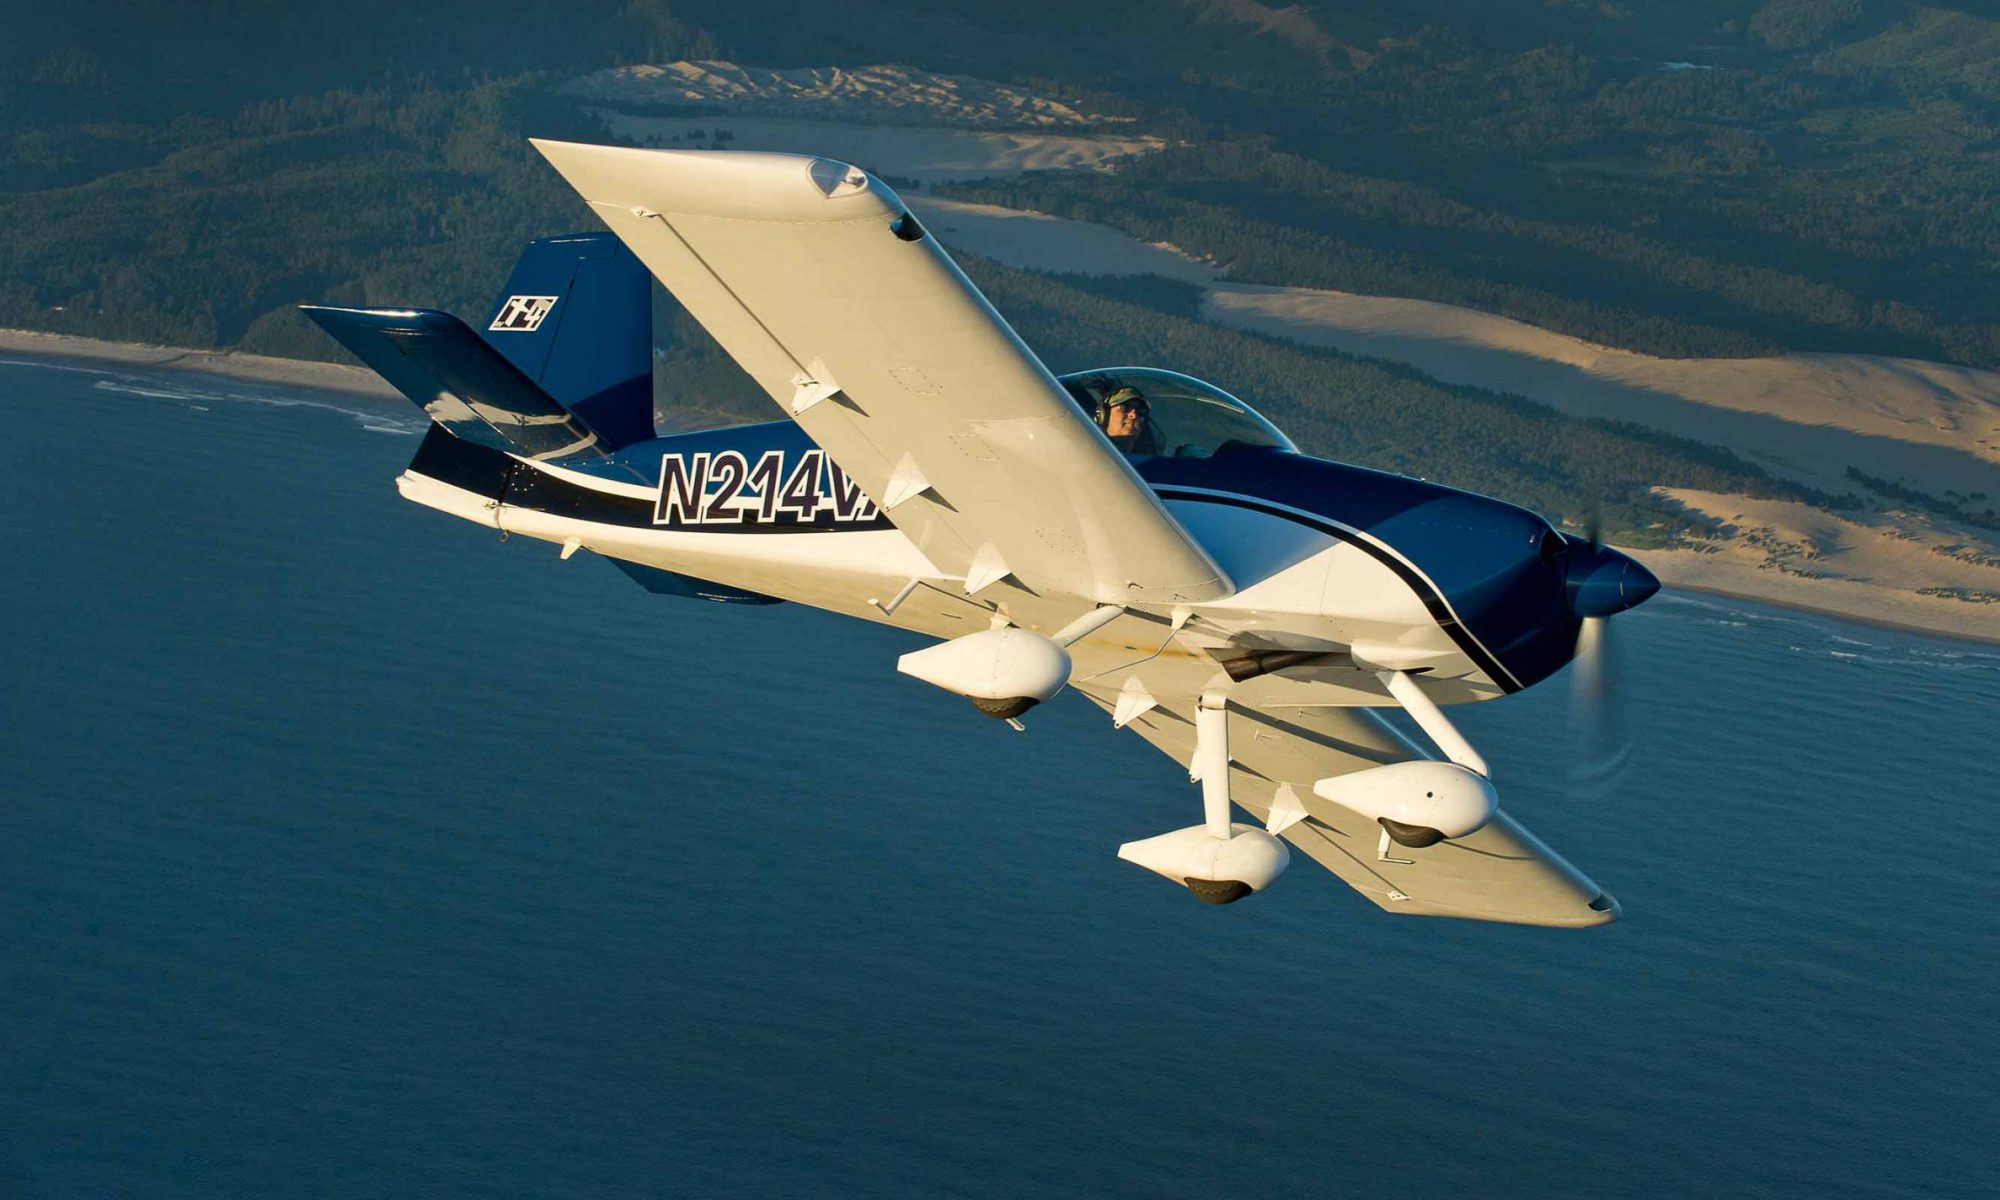
It is definitely starting to look like an airplane.
14 hours (2 people times 7 hours each)