More Wheel Pants Work

Continued sanding the two parts on the left wheel pant. I cut the hole for the gear leg and final sanded it. I thought that would be more difficult than it turned out to be. I really can’t do much more on this wheel pant until the airplane is on the gear.

2 hours (2 people x 1 hour)

Busy Work

Kind of bouncing around a bit. Waiting for a part, or the paint booth etc. Today my father and I worked on the wheel pants and did some prep work on the miscellanea section.

I will get the interior paint and primer from Jon tomorrow. My friend Dave (who is an experienced fiberglass and paint guy) is going to help me paint many of the interior parts.

8 hours (2 people x 4 hours).

Engine Mount Installation

My father and I installed the engine mount. Six bolts (three different lengths). Only a small amount of reaming necessary to get the bolts in. Had to search for the AN1149FO632P washers called out for the top two bolts. Had a slight interference issue with one firewall item.

Began fabrication of the main gear leg components.

Two hours (Two people x 1 hour).

Seat Backs – almost done

I decided to redo one part on the pilot’s seat because i enlarged a couple of rivet holes when i drilled out a handful of rivets. I re-ordered the part from Van’s. I can work on the canopy some more and also start on the wheelpants while waiting for the part.

I used the wrong size hinge for the seat base on the first seat back. Thus the reason for the re-do.

Meanwhile, Josh from SteinAir says they are starting the panel now and think it will take 30 to 45 days to complete.

Lycoming is still working during the virus shutdown, and think they are on track for early May.

Eight hours (2 people x 4 hours over two work sessions).

Fixing a Mistake

I mentioned this before, but I realized that I wouldn’t be able to install two rivets near the canopy aft frame because I had already installed the canopy latch mechanism. I certainly was not looking forward to uninstalling the latch mechanism just to put in two rivets on each side. Last night, my father and I decided to do it. It probably took about 2.5 hours to uninstall, rivet and reinstall everything. Very frustrating!

Funny story, I very nearly managed to get a closed end ratcheting wrench stuck in such a way that I would not be able to get it out. I was tightening a bolt for part of the latch mechanism when I realized that the wrench on the nut side was trapped between that bolt and another nearby bolt. I couldn’t back the bolt out because my wrench would just ratchet when I turned the bolt. I yanked, pried and cursed. I seriously thought I was going to have to leave the wrench where it was forever. I finally managed to get a second skinny open end wrench on to the nut so I could back the bolt out. Man, that was close!

Canopy Riveting and Rear Window Installation

We began riveting together the forward canopy assembly. Lots and lots of rivets most of which needed to be bucked rather than squeezed.

Also put the rear window in place for measurement and cutting. It turns out that the only cutting required was the two notches for the roll bar brace brackets. The Dremel tool worked well for the cuts. I did realize that I will have to disassemble some of the canopy latch mechanism to get to two rivets that need to be squeezed. My fault because I did the latch mechanism out of order. Probably 1 hour of extra work. BTW, cutting the plexiglass is messy and requires wearing a mask.

10 hours (2 people x 5 hours each).

I cut downward with the wheel but I found that actually moving back and forth was a better method. After cutting, I used 220 grit sand paper to round the corners to remove stress points.
This is the rear canopy assembly just sitting in place. There are two rivets that I can’t install because I installed the latching mechanism.
This is the back window clamped in place. As with other parts of the kit, it fit very well without any significant cutting. Our plan is to use Sikaflex to attach the window rather than rivets and screws.
The forward canopy just sitting where it will eventually go. It hinges on the front.
My Dad (who turns 91 in about a month) helping me with the canopy top skin.

Still More Canopy Work

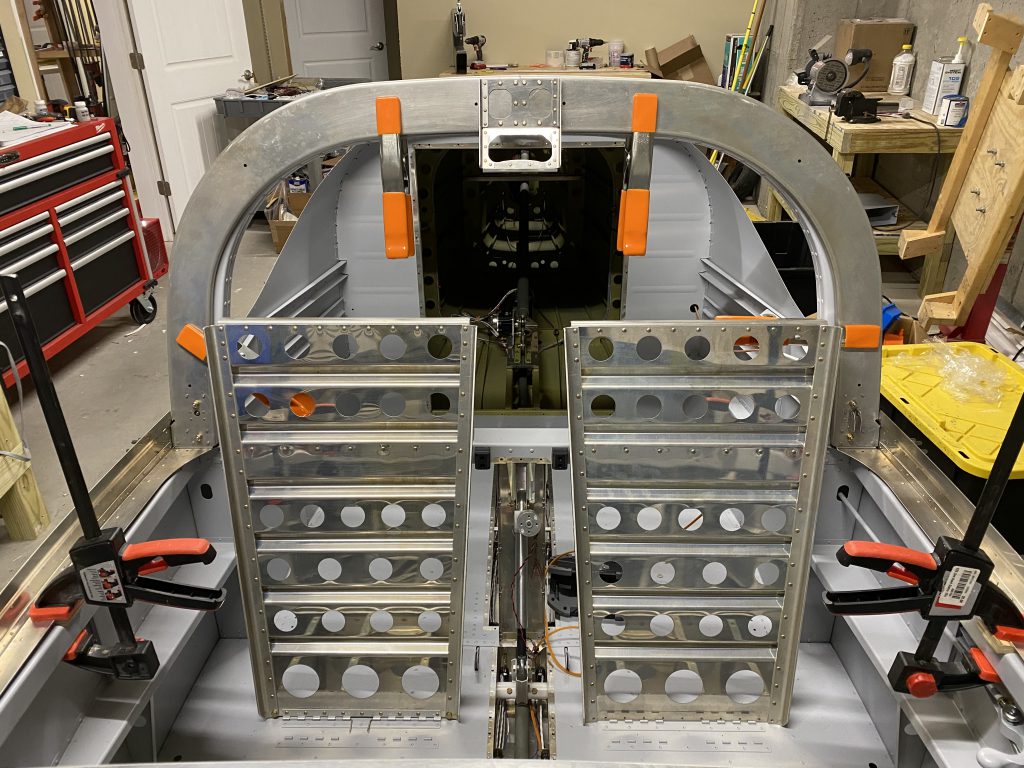
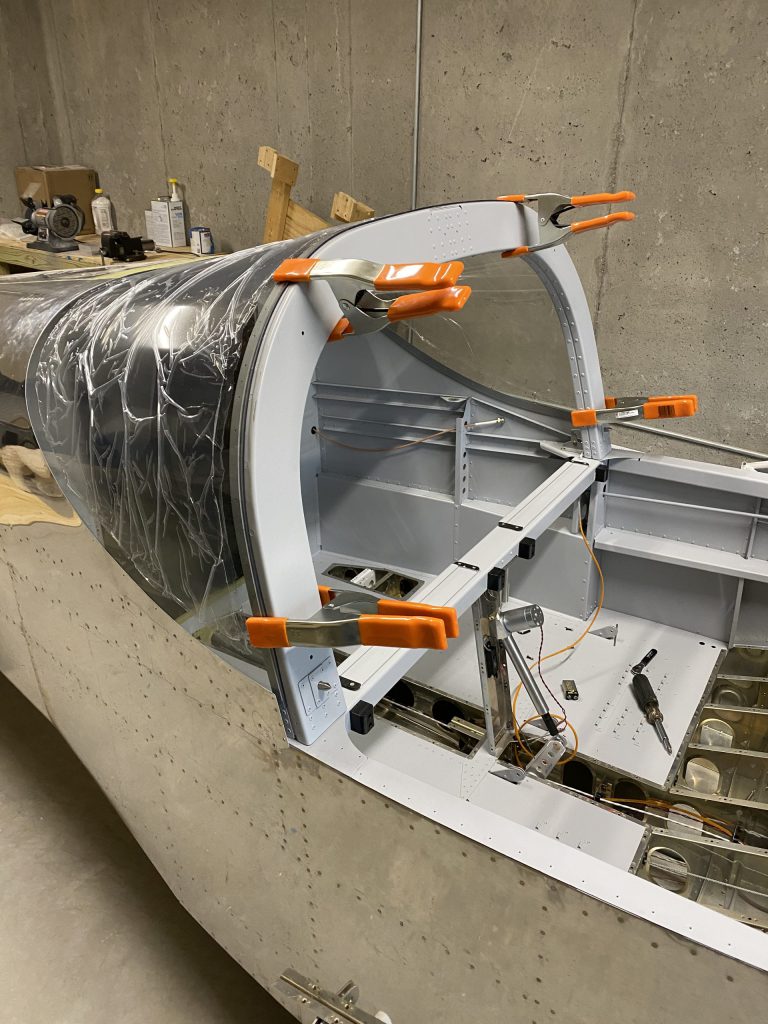
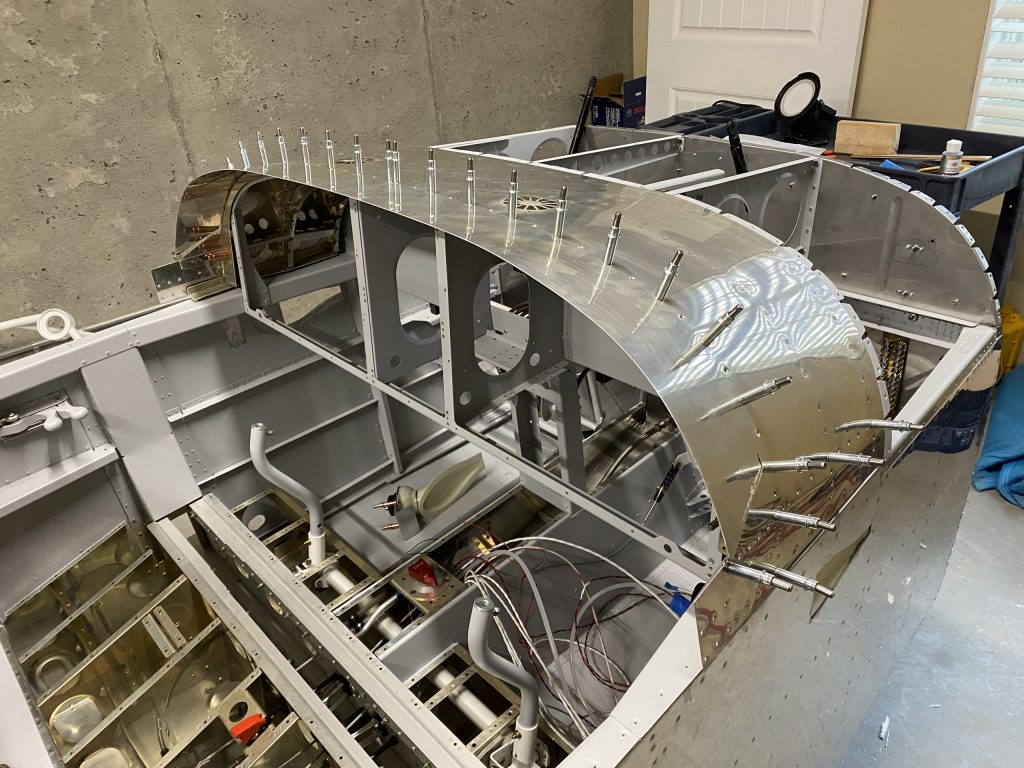
A few days ago when I was assembling the front canopy assembly, I puzzled over one particular drawing. I couldn’t determine confidently whether the canopy skin went on the outside of the stiffener or the inside. Based on the drawing at the beginning of section 38, I decided the stiffener went on the outside. I did several steps and things lined up nicely so I assumed I had it correct. Well, I didn’t.

Today, I got to a step that had me countersink the OUTSIDE of the stiffener to accept the dimpled skin. Now it was clear that the stiffener went inside of the skin. It seems obvious now, but when I did it a few days ago I am pretty sure I had it right. No damage done and only a few minutes to “fix” the issue.

I then spent a fair amount of time looking forward a few pages in the instructions. Geez, this canopy has a lot of steps! I think Jon’s advice to work in small increments of perhaps an hour in the evening makes a lot of sense. It is easy to feel overwelmed if you are working for 8 hours at a time.

Meanwhile, Steinair seems to be on schedule to finish the panel work by the end of April. Van’s shipped a few more parts that were back ordered in the finish kit. I cleaned the aircraft factory (a little) in an attempt to not work on top of my instructions (which required me to continuously move my work pieces every time I needed to refer to the directions).

Three hours.

Canopy Continued

I spent a significant amount of time assembling the canopy side rails. Lots of clecos to install, holes to final drill or match drill. As I have commented in the past, the quality of Van’s parts is impressive. Mostly a perfect fit. I will have to pause on the canopy now because two of the key parts I need are back ordered (C-1405-L and C-1405-R). I think they should arrive in the next few days since Van’s told me on a recent call that they had received more of these in stock.

Error of the day: I countersunk a hole next to the one I was supposed to countersink. Kind of dumb since I marked each hole I was supposed to do with a sharpie before starting. Luckily, the error will be hidden permanently by another piece that will be riveted over the offending area.

Five hours.

The Canopy Construction Begins

The canopy has a surprising number of parts. After spending a fair amount of time cutting, deburring and Alodining lots and lots of parts, I began the actual construction today.

The good news is that the parts have been going together relatively easily. The pre-drilled holes by Van’s have been spot on.

My riveting has gone from OK, to reasonably good. Once I got the feel of the rivet gun trigger, I mostly have had very good rivets. Well OK, I have put smiles into a couple of them, but luckily they will be in places where no one can see them.

Six hours.

As you will see in a future post, I have the stiffener wrong in this picture. It goes inside of the top skin.
Close Bitnami banner
Bitnami