Moving Day + Landing Gear

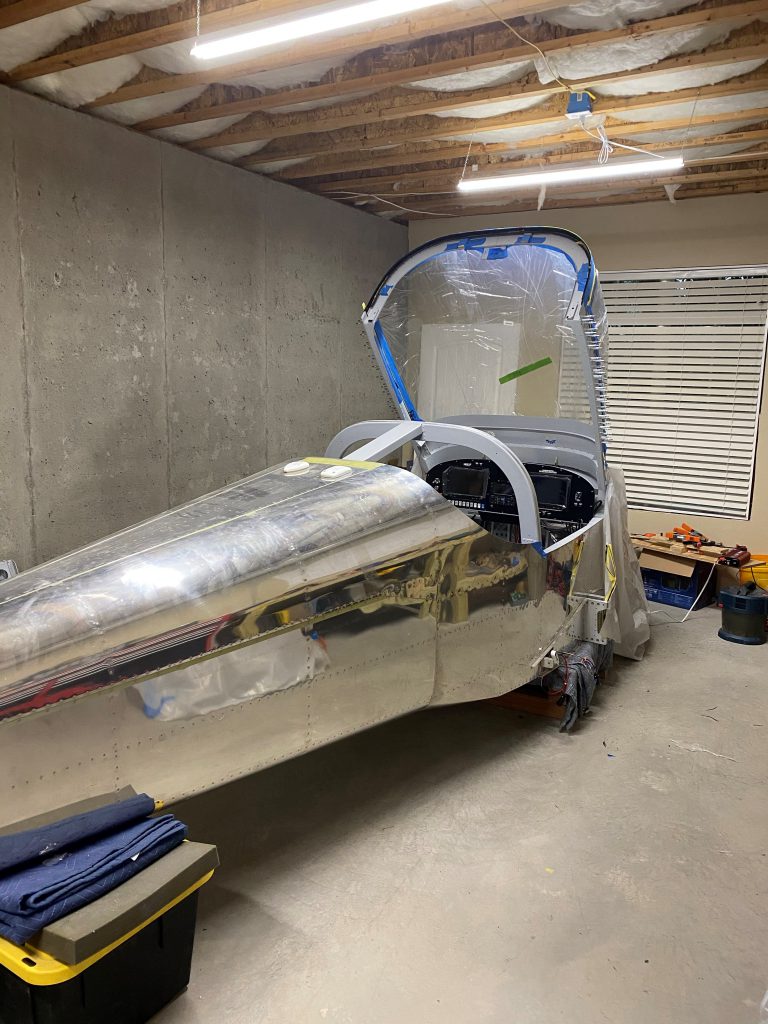
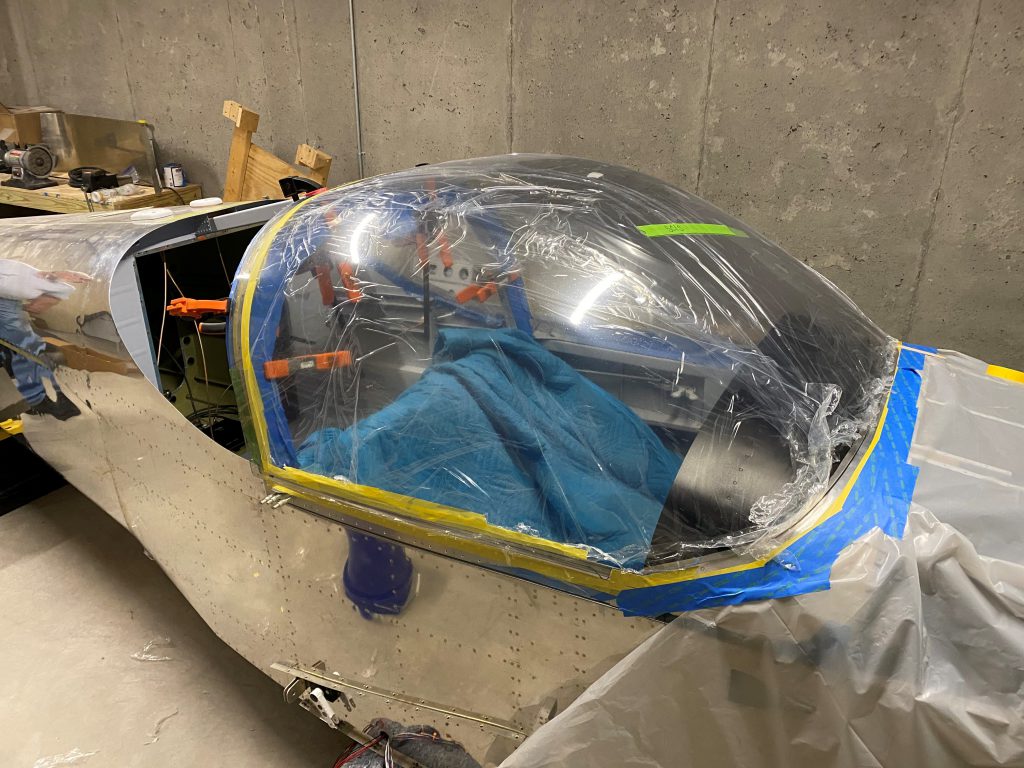
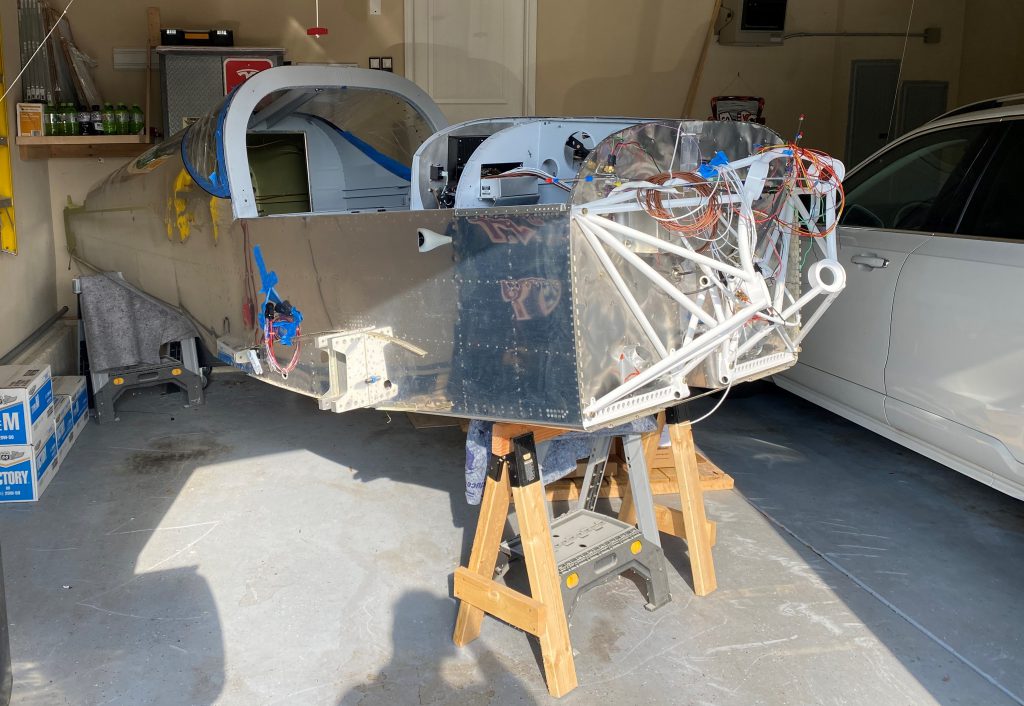
Last night, I got three friends (Chris/Chad/John) to help me move the fuselage out of my basement and up to the garage. Of course it was the hottest, most humid day of the year. It only took about 30 minutes, but we were all drenched in sweat by the time we got it out the window and up to the garage. Only casualty was a cut finger and a scraped leg.

My Dad and I began installing the main landing gear. This looks relatively easy to do, but actually turned out to take a fair amount of effort. There are a lot of bolts to install (26), the tolerances are tight and there is not a lot of room to maneuver hands/wrenches.

It is very important to put the bolts in in the right order. It also helps to have a car jack to lift the gear legs up and wiggle them around to get the bolt / holes to align.

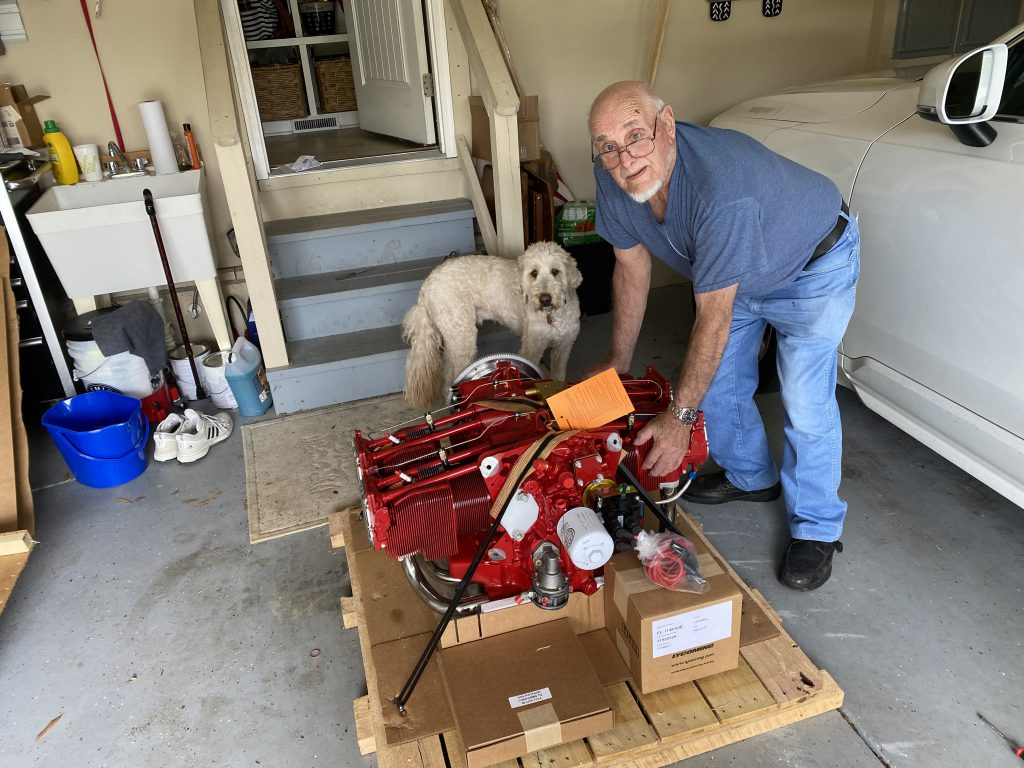
At one point, I thought there was going to be no way to install a washer and nut on several bolts that come out inside the wing spar box. After lots of cussing and complaining (by me) my father noticed that you could reach that area from outside the airplane and then getting these nuts on became trivial. Not bad for an old guy.

There were a couple bolts that were in places that my hands simply don’t fit. I enlisted Marianne to help. Her hands are smaller and she was easily able to install the bolts in a place I would have needed hours (and luck) to install.

Tomorrow, we will install the axles, check alignment and install the wheels, brakes and tires. Then it will be onto the nose gear which looks a bit more complicated.

6 hours (3 hours x 2 people)

Gluing in the Back Window

Despite being smaller than the canopy, this was actually a bigger pain in the butt. It required a lot more prep work (mostly taping off areas that I didn’t want to get primer or glue on).

I almost made a giant mistake. The back window is glued to the inside of the skin but to the outside of the roll bar. I somehow managed to put glue on the OUTSIDE of the plexiglass in both places which would have meant no glue connecting the window to the roll bar. I noticed the mistake when I put the window in and was able to correct things before any damage was done. Lots of cursing for sure.

The back window is now in place and the glue is fully dried. I put a small fillet along the skin to make the transition look better. Pretty happy with the result.

Today (Wednesday) is moving day for the fuselage. My car will get to sit outside for about two weeks if all goes according to plan.

10 hours (5 hours x 2 people).

Here is the Lycoming IO-390 unboxed in anticipation of the firewall forward phase of the project.
I used extendable curtain rods to hold the window in place while the glue dried. This worked reasonably well and only cost me $5 per rod.
It will look a lot better when the tape is removed but I want to leave the tape on for awhile to protect the window during construction.

More Canopy Work + Misc

My Dad and I did the fiberglass fairing at the front of the windshield. Not going to win any awards, but overall pretty happy with the way the fiberglass came out. Still lots of sanding and shaping to do.

Note for those new to fiber glass work. The West System pumps can fail to provide the right mixture of resin to hardener. Having too much hardener is better than not enough. The pumps should supply a FULL stroke of fluid for each pump. My resin pump was providing resin for only the second half of the stroke which resulted in too much hardener for a given amount of resin. The lesson here is to occasionally check the mix by weight or volume and not always rely on the pump.

We also worked on the throttle/pitch/mixture/alt air quadrant. This took longer than you might expect. We had to measure and drill the proper holes in the plate (supplied by SteinAir), mount the cables and then mount the plate to the airplane. Then we had to secure the cables and run them through the firewall. The penetration for the firewall is an eyeball grommet by Doubletree (TTP-S). They are $44 per grommet and I am going to re-do one of them because the hole is too big. I also need to install the adel clamps inside the cockpit.

Finally, we did most of the prep work for installing the back window. Similar to the canopy the prep work takes way longer than the actual installation. We will be using Sikaflex to attach the window. I am cautiously hopeful that we will do the install tomorrow evening.

The upcoming schedule is:

Continue miscellaneous tasks like applying firestop caulking to the firewall and installing the fuselage top skin. Late this week we will move the fuselage to the garage so we can begin installing the landing gear and the engine. I am hoping to have this work done in about two weeks so we can move it to the airport near the end of July. Once at the airport we will need to install the propeller, cowling (very time consuming), the wings, tail and the intersection fairings.

I am planning for the DAR inspection around the end of August or the middle of September.

32 hours over several days (2 people).

Overall working with fiberglass kinda sucks. The good news is that you can always add more glass if you make a mistake or need to fill in a low spot.
Probably two to three more hours of sanding to do here.

Canopy Install Continued

How to give yourself a heart attack in one easy step…

I came down to the workshop about 24 hours after we glued the canopy on. I removed the sandbags and unlatched the canopy. It wouldn’t move at all! I thought that I must have somehow glued the canopy shut accidentally. I envisioned major rework and lots of $$. Luckily, the problem was that I hadn’t loosened the clamps that I was using to secure the canopy to the roll bar. Once I removed them, the canopy opened with only a small amount of persuasion.

The canopy is incredibly solid when it is all connected together. According to others who have older planes (RV6/7 etc.) this canopy is night and day different from the older ones (which had a lot of flex in their canopies).

Overall, I would definitely do Sikaflex rather than screws for the canopy. It is messy and probably costs a bit more, but I believe it is a much better way to go.

Quick tip #1: There is very little room between the windshield and the top of the panel. Make sure to remove any masking tape on the windshield and the top of the panel there before installing. If you don’t, it is a real PITA to get all the tape out of there.

Quick tip #2: Wear gloves – the primer and the Sikaflex do not come off your hands after it dries. I expect my hands will have black stuff on them for several days until it eventually wears off.

Sikaflex-ing the Canopy

Jon and I decided to use SikaFlex (glue) to attach the plexi-glass for the canopy and the back window. The process is a bit more difficult than the Van’s method of using screws. We didn’t like creating a stress riser at each of thirty plus holes in the plexi-glass.

The process is :

  1. Mask off everywhere you don’t want the primer to end up.
  2. Lightly scuff both surfaces (plexi glass with scotchbrite and aluminum with 220 grit sand paper)
  3. Apply Sikaflex 205 Activator (which seems to be roughly isopropyl alcohol) and let dry 10+ minutes.
  4. Create stand offs to prevent the plexi-glass from squeezing the glue out. I used tongue depressors for the front and rear and fishing line glued onto the sides.
  5. Apply Sikaflex 206G+P primer to both the plexi-glass and the airplane body. This stuff is very thin and can easily run. Thus the reason to mask EVERYTHING. It looks like alcohol will remove primer if necessary.
  6. Apply a bead of Sikaflex 295 UV to the metal surfaces. It is important to cut the tip of the tube properly and to build a small pyramid of glue.
  7. Lower the canopy onto the frame and weight it down with sandbags. I also installed the side skirts to keep the sides of the plexiglass tightly against the glue.
  8. Wait 24 hours.
  9. Remove the tongue depressors and add some additional Sikaflex to fill the holes and make a smooth fillet around the front of the canopy.
  10. Add the side skirts using the same process (remember to have the wire for the canopy open switch in place).

Stick Grips

I spent the day installing the Infinity stick grips. I had to make the hole in the side of the stick bigger to accommodate the cable. I also had to drill a hole in the adapter sleeve to secure it to the top of the stick.

Then the fun began. Sorting out all the wires. The copilot stick is slightly different than the pilot stick because I have a switch on the panel to disable most of the functions on that stick for when I have a non-pilot over there.

I had these same stick grips on my RV10 and liked them.

I can trim, flip flop comms, IDENT, raise and lower the flaps, disconnect the autopilot and PTT.

My Dad was very helpful when I was toning out all the individual wires.
8 hours.

Nose Gear Miscellaneous

We worked on the two small offsets that are used to attach the wheel pant to the nose gear fork. The plans call for cutting these from solid blocks of aluminum. Much harder to do than you might think. The bandsaw struggled to cut through the blocks. I probably need to get another band saw blade.

Van’s sent an e-mail asking for the rest of the money for the engine. This means it should be here in the next 30 days. Woo hoo!

2 hours (2 people x 1 hour)

Nose Wheel Pant

Dad and I did some cutting, sanding and fitting on the nose wheel pant last night. It looks pretty good. It’s clear that the instructions were lifted from an older plane design because they have several steps that are largely unnecessary (again thanks to the high quality of the RV-14A kit).

We also did the alumi-prep and alodine processes on several more pieces that we will be using soon.

The paint booth is delayed by a few more days. The fans I ordered on Amazon were supposed to arrive yesterday, but now look like they will get here on Sunday. Not a big deal since we have other small tasks we can work on.

Lycoming says they are starting assembly of the engine. My best guess is that it will be ready to ship by early to mid May.

2 hours (2 people x 1 hour)

More Wheel Pants Work

Continued sanding the two parts on the left wheel pant. I cut the hole for the gear leg and final sanded it. I thought that would be more difficult than it turned out to be. I really can’t do much more on this wheel pant until the airplane is on the gear.

2 hours (2 people x 1 hour)

Busy Work

Kind of bouncing around a bit. Waiting for a part, or the paint booth etc. Today my father and I worked on the wheel pants and did some prep work on the miscellanea section.

I will get the interior paint and primer from Jon tomorrow. My friend Dave (who is an experienced fiberglass and paint guy) is going to help me paint many of the interior parts.

8 hours (2 people x 4 hours).

Close Bitnami banner
Bitnami