Canopy Install Continued

How to give yourself a heart attack in one easy step…

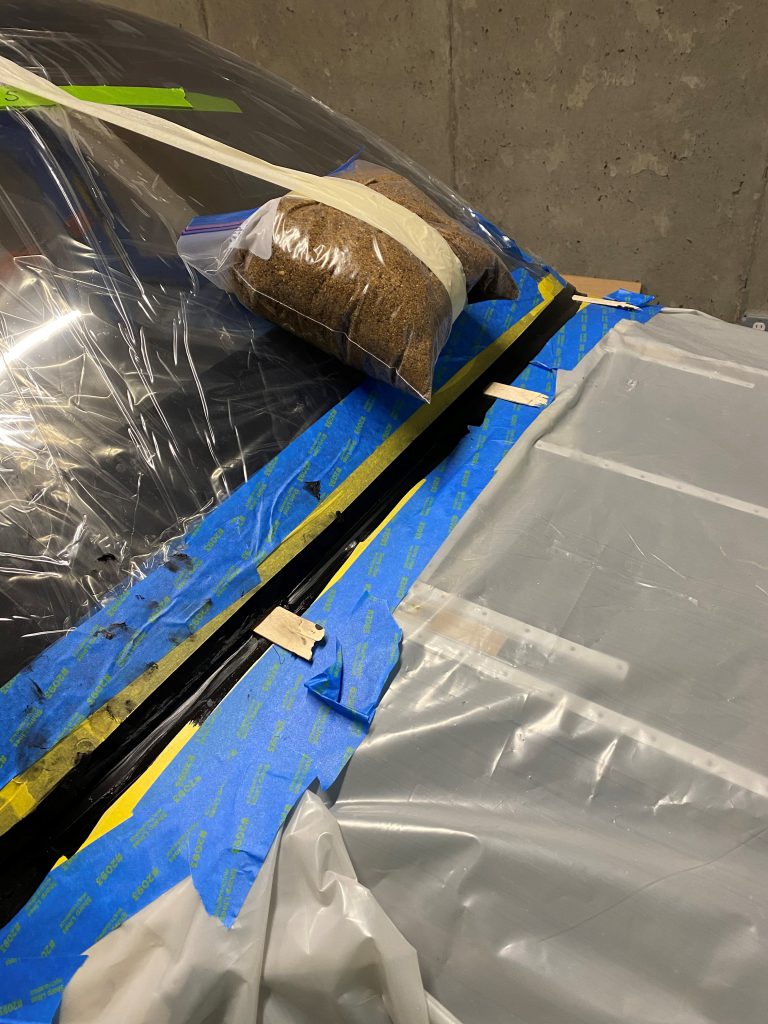
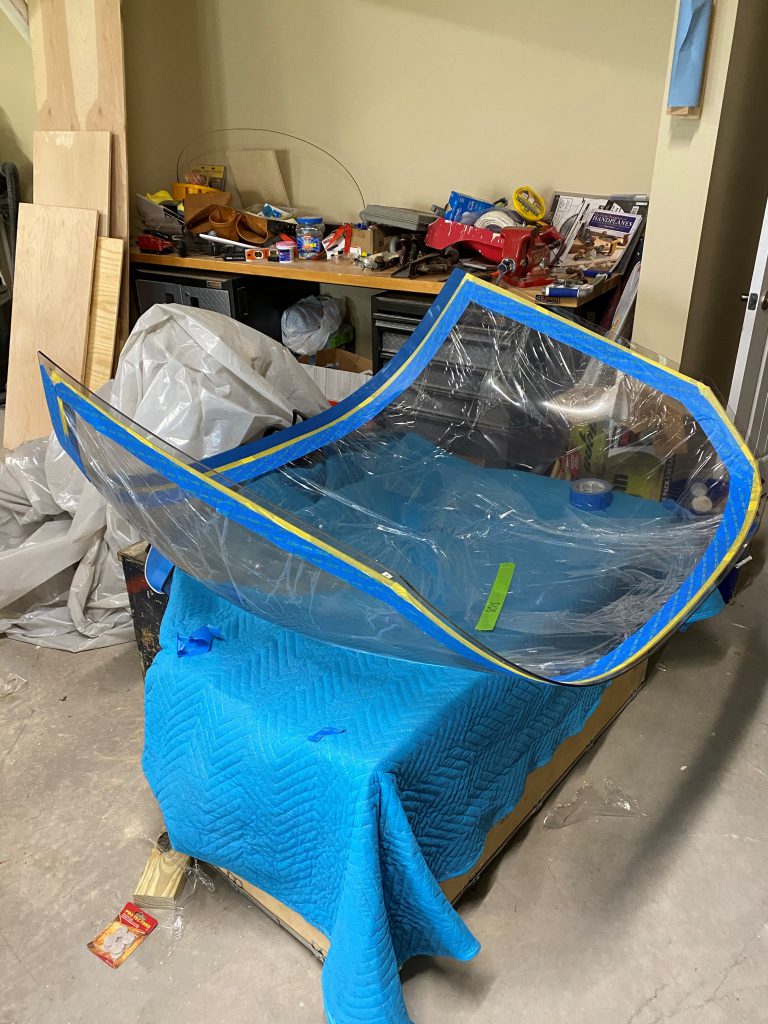
I came down to the workshop about 24 hours after we glued the canopy on. I removed the sandbags and unlatched the canopy. It wouldn’t move at all! I thought that I must have somehow glued the canopy shut accidentally. I envisioned major rework and lots of $$. Luckily, the problem was that I hadn’t loosened the clamps that I was using to secure the canopy to the roll bar. Once I removed them, the canopy opened with only a small amount of persuasion.

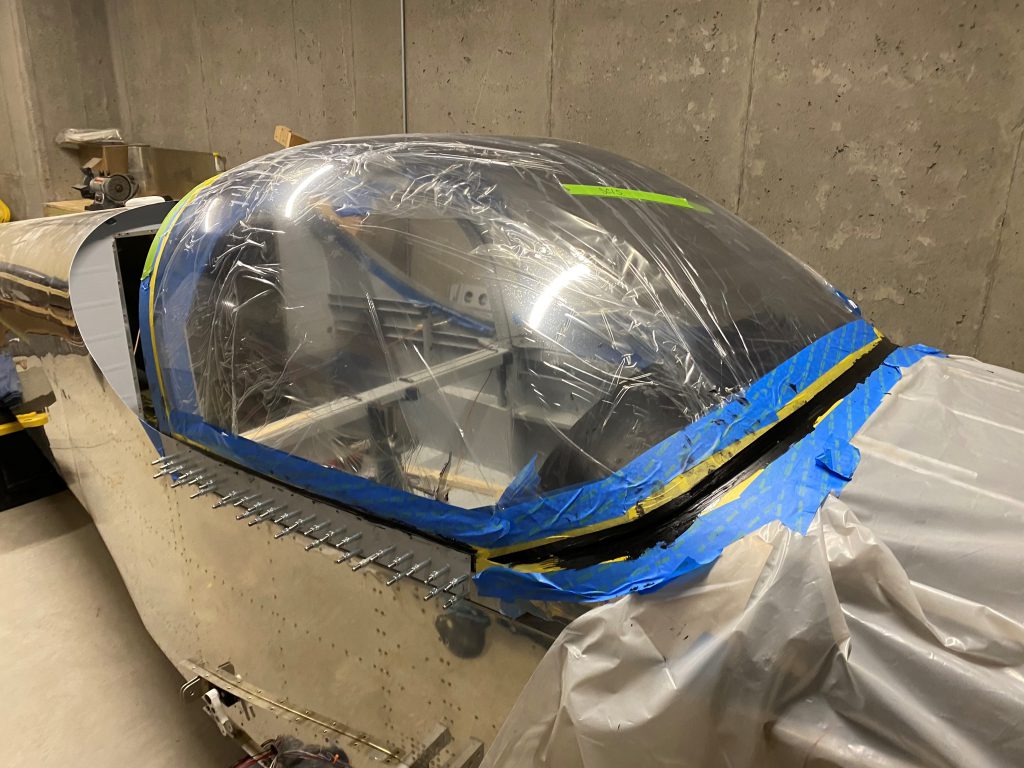
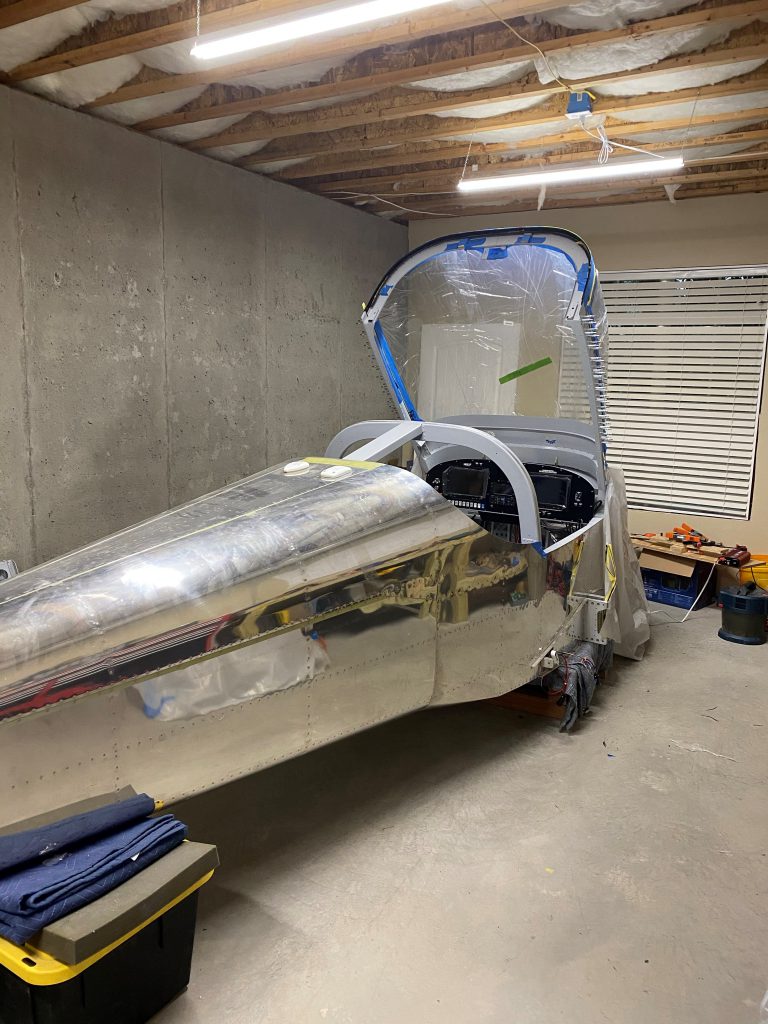
The canopy is incredibly solid when it is all connected together. According to others who have older planes (RV6/7 etc.) this canopy is night and day different from the older ones (which had a lot of flex in their canopies).

Overall, I would definitely do Sikaflex rather than screws for the canopy. It is messy and probably costs a bit more, but I believe it is a much better way to go.

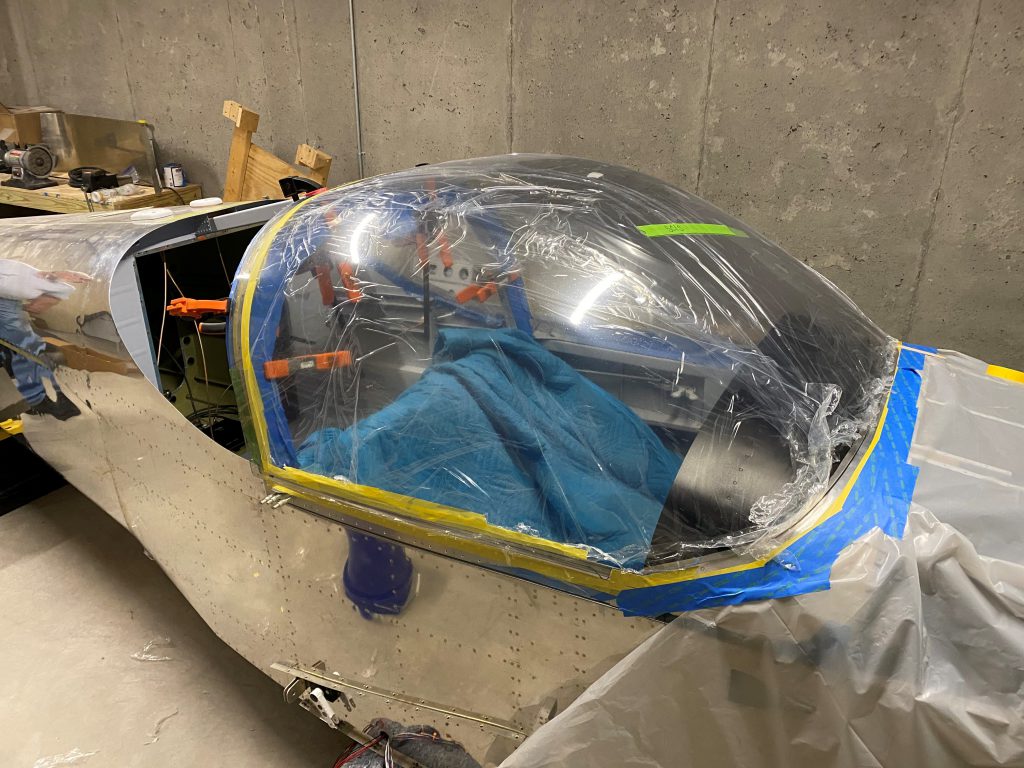
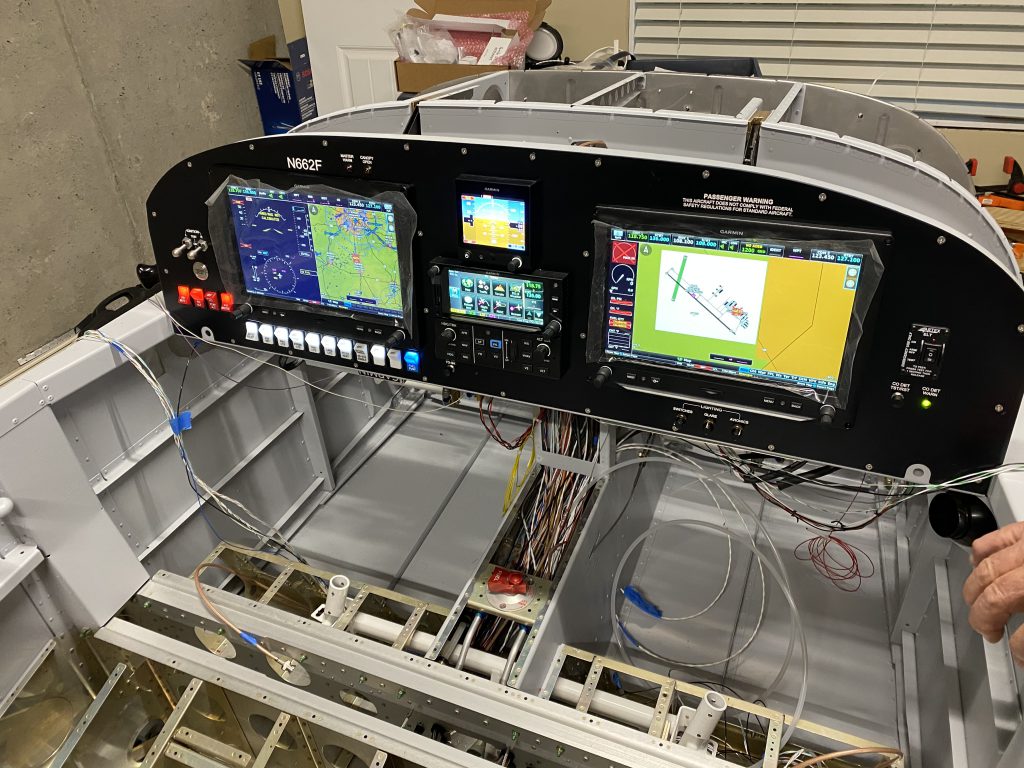
Quick tip #1: There is very little room between the windshield and the top of the panel. Make sure to remove any masking tape on the windshield and the top of the panel there before installing. If you don’t, it is a real PITA to get all the tape out of there.

Quick tip #2: Wear gloves – the primer and the Sikaflex do not come off your hands after it dries. I expect my hands will have black stuff on them for several days until it eventually wears off.

Sikaflex-ing the Canopy

Jon and I decided to use SikaFlex (glue) to attach the plexi-glass for the canopy and the back window. The process is a bit more difficult than the Van’s method of using screws. We didn’t like creating a stress riser at each of thirty plus holes in the plexi-glass.

The process is :

  1. Mask off everywhere you don’t want the primer to end up.
  2. Lightly scuff both surfaces (plexi glass with scotchbrite and aluminum with 220 grit sand paper)
  3. Apply Sikaflex 205 Activator (which seems to be roughly isopropyl alcohol) and let dry 10+ minutes.
  4. Create stand offs to prevent the plexi-glass from squeezing the glue out. I used tongue depressors for the front and rear and fishing line glued onto the sides.
  5. Apply Sikaflex 206G+P primer to both the plexi-glass and the airplane body. This stuff is very thin and can easily run. Thus the reason to mask EVERYTHING. It looks like alcohol will remove primer if necessary.
  6. Apply a bead of Sikaflex 295 UV to the metal surfaces. It is important to cut the tip of the tube properly and to build a small pyramid of glue.
  7. Lower the canopy onto the frame and weight it down with sandbags. I also installed the side skirts to keep the sides of the plexiglass tightly against the glue.
  8. Wait 24 hours.
  9. Remove the tongue depressors and add some additional Sikaflex to fill the holes and make a smooth fillet around the front of the canopy.
  10. Add the side skirts using the same process (remember to have the wire for the canopy open switch in place).

Panel on the Home Stretch (hopefully)

We continued to work on the panel yesterday.

We got the pitot and static system hooked up.

We finished the pitch and yaw trim position wiring.

We found a couple small issues including no ground wire for the USB port (fixed)

A talk with Stein corrected a misunderstanding that I had. I thought the GDL-51A provided a GPS signal to the PFD and MFD, in fact it is the other way around the GDL-51A gets a GPS position from the PFD via the RS-232 connection. This will require one more coax cable from the PFD to the antenna mounted just aft of the baggage compartment.

The Can Bus is Live!

Because the wings are stored in a hanger about 80 miles from here I can’t test the roll servo. This servo is part of the Can Bus which interconnects many of the avionics components including the MFD, PFD, autopilot, radios etc. I was able to test most of the other components by putting a 120 ohm terminator pig tail on to the can bus at the right wing root. The result is that most of the red Xs are gone.

Still a bit of work to do on the yaw servo, the fuel pump, and the firewall forward. Progress.

Stick Grips

I spent the day installing the Infinity stick grips. I had to make the hole in the side of the stick bigger to accommodate the cable. I also had to drill a hole in the adapter sleeve to secure it to the top of the stick.

Then the fun began. Sorting out all the wires. The copilot stick is slightly different than the pilot stick because I have a switch on the panel to disable most of the functions on that stick for when I have a non-pilot over there.

I had these same stick grips on my RV10 and liked them.

I can trim, flip flop comms, IDENT, raise and lower the flaps, disconnect the autopilot and PTT.

My Dad was very helpful when I was toning out all the individual wires.
8 hours.

Close Bitnami banner
Bitnami