I worked on the canopy hinges, gas struts and the canopy release mechanism. As usual, I put something together, tightened down bolts and then realized that I had missed a step and had to take it back apart. I have to wait for the paint to dry on one part of the canopy hinge mechanism so the total progress was miniscule.
I had planned to do some ProSeal work on the air vent today, but decided to put that off til tomorrow.
Jon and I got a lot done today. We finished up routing the brake lines. We fixed a couple pop rivets that I screwed up (last post). We installed the flap actuation system. We installed the Forward Upper Fuselage. We pulled several cables from the tail cone forward.
Soon it will be time to remove it from the rotisserie so we can start on some firewall things that are currently unreachable. The rotisserie makes working on the airplane so much easier.
Total time: 12 hours (Jon 7, Me 5).
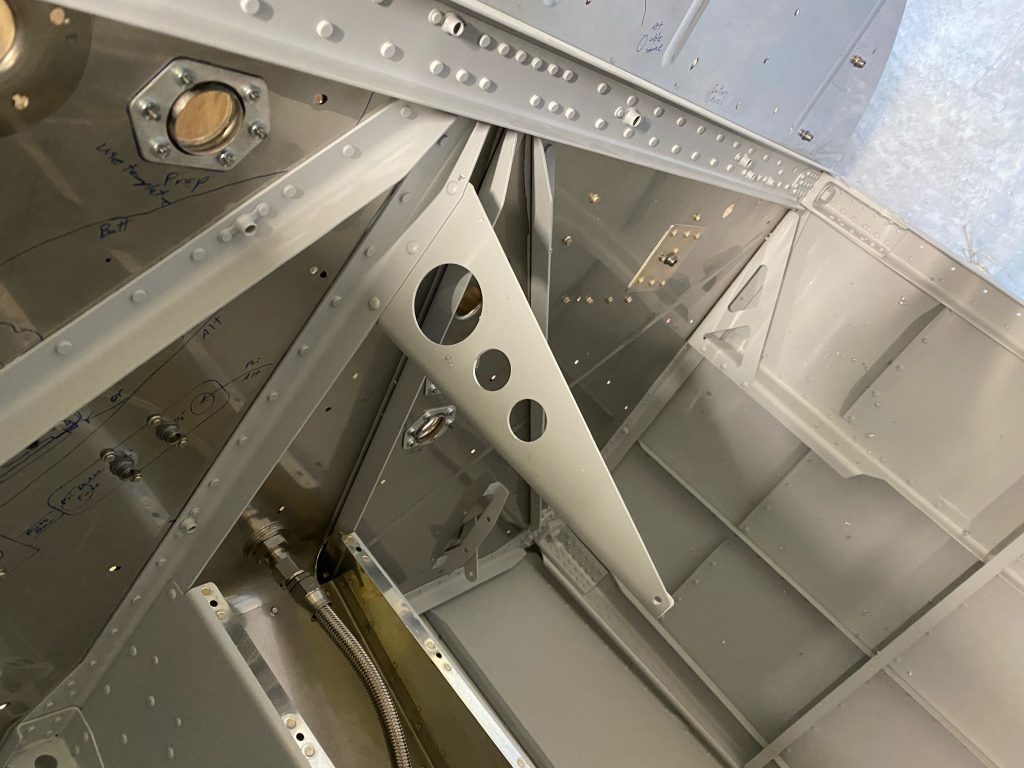
This is the flap actuation system. The motor is surprisingly small. The orange cable supplies power to the baggage compartment light.The upper forward fuselage is the structure that holds the canopy and the instrument panel. It is riveted to the firewall and to both sides of the fuselage. It also has a center bracket that connects it to the tunnel. In this picture you can see the can of paint I used to hold one of the NACA air vents in place while the ProSeal dries.
I was putting in a small number of AACQ4-6 rivets to hold the plastic guides for the rudder cables. Apparently, my pop rivet tool was not tightly against the side of the tunnel and I ended up with a bad rivet. Normally, not a big deal — just take it out and put a new one in. Except I had exactly zero AACQ4-6 rivets left. Oh well, a call to Van’s to order $8 worth of rivets and a small assortment of other stuff I needed…
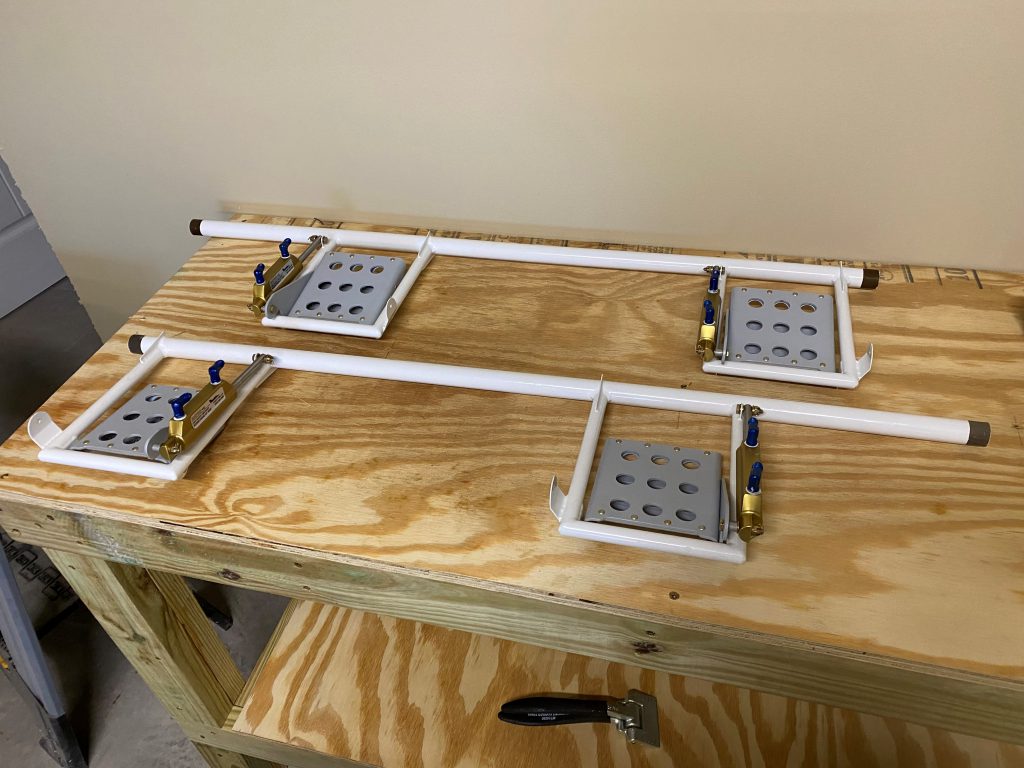
Completed rudder pedals and plumbing some of the in-cockpit brake lines. Because we are using TS Flightline brake lines, we had to enlarge one of the holes in the rudder pedal assembly middle support bracket to pass the brake lines through.
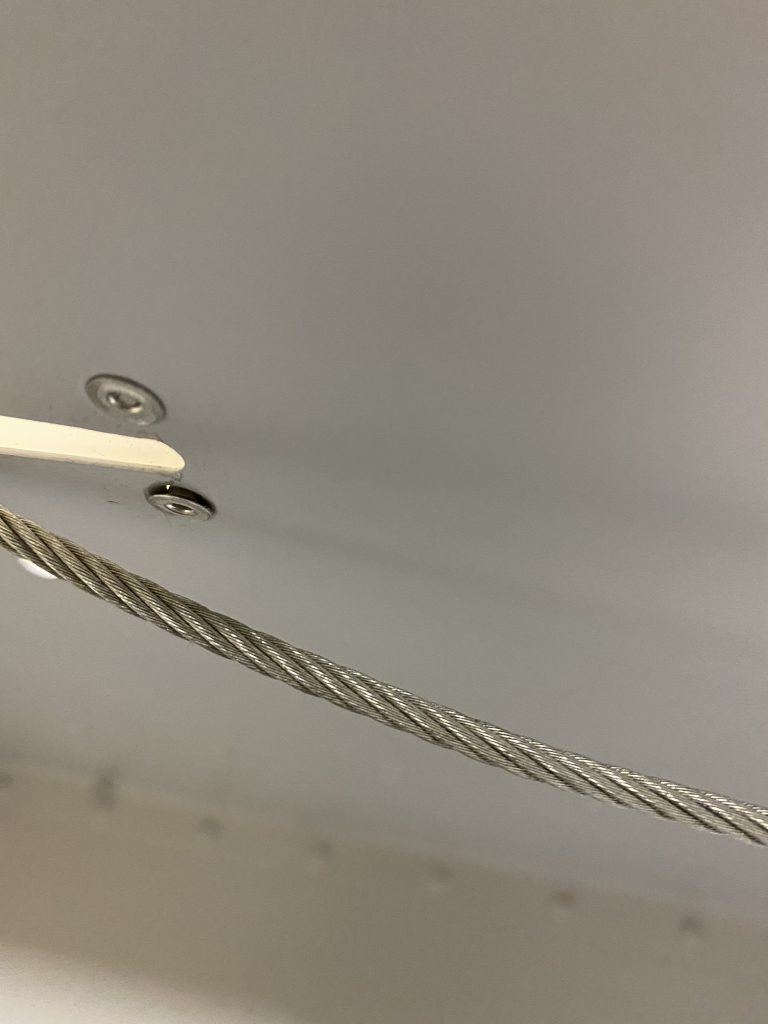
Realized that the rudder cables were in backward (forward end was at the tail ). The ends of the cable are different. Had to drill out several rivets where the cable exits the fuse near the tail to swap the cables end for end.
Found a couple places where we missed putting in some rivets. Luckily they were pretty easy to get to.
Attached the rudder cable anti-rub tubing to the center fuse using 4 adell clamps. It was especially difficult because there is very little room to get fingers and wrenches in there.
12 hours (2 people x 6 hours each).
You need to be careful to assemble the rudder pedals correctly. They all look the same, but they are not. It is important that they move freely without having side to side slop. It was necessary to use one thick washer and one thin washer on several of the bolts to give the proper amount of freedom.The rudder pedal frame mid-point brace has three holes in it. I enlarged the center hole to allow two TS Flightlines braided brake lines to pass through it. The other two lines will pass through the other smaller hole.
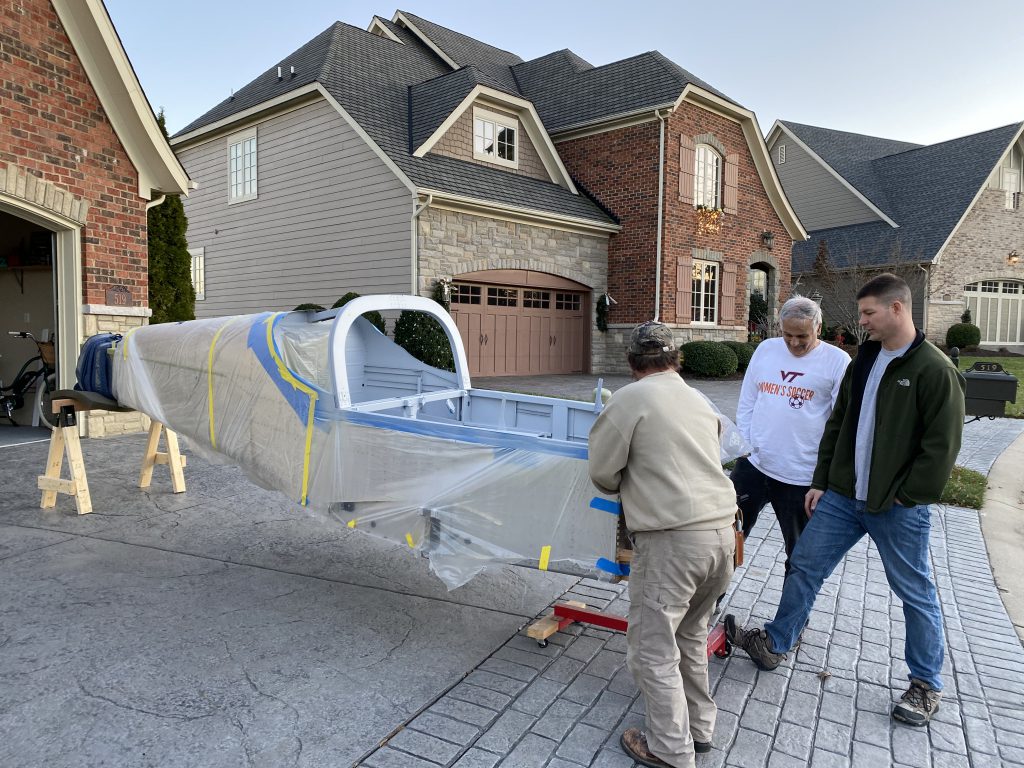
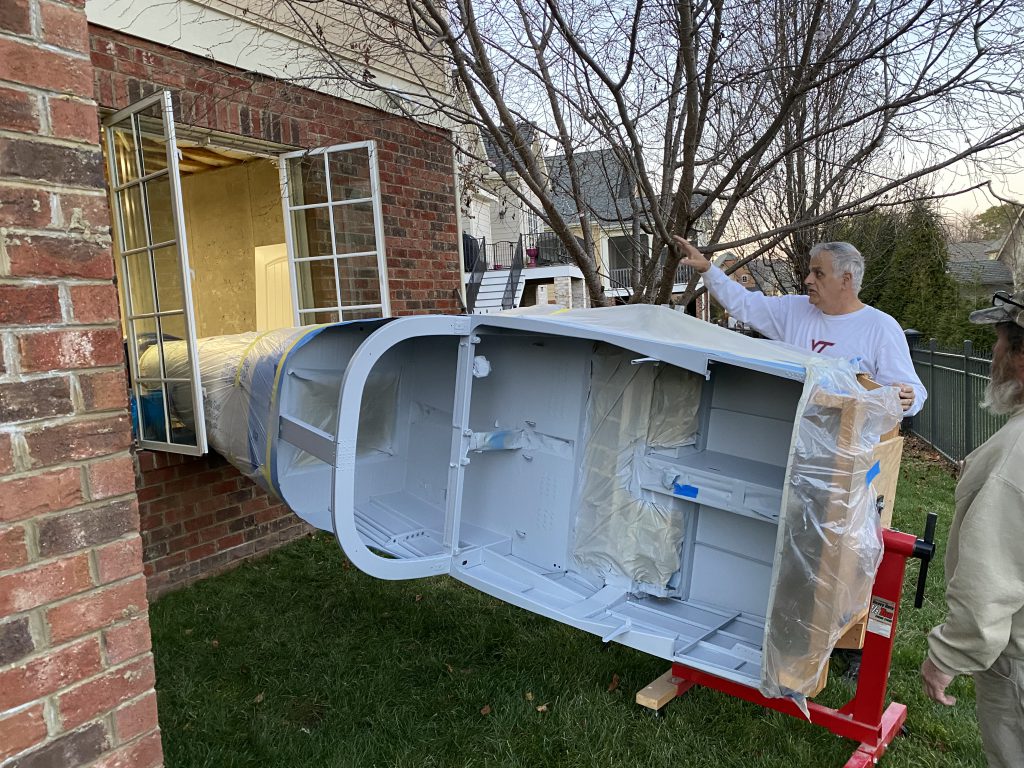
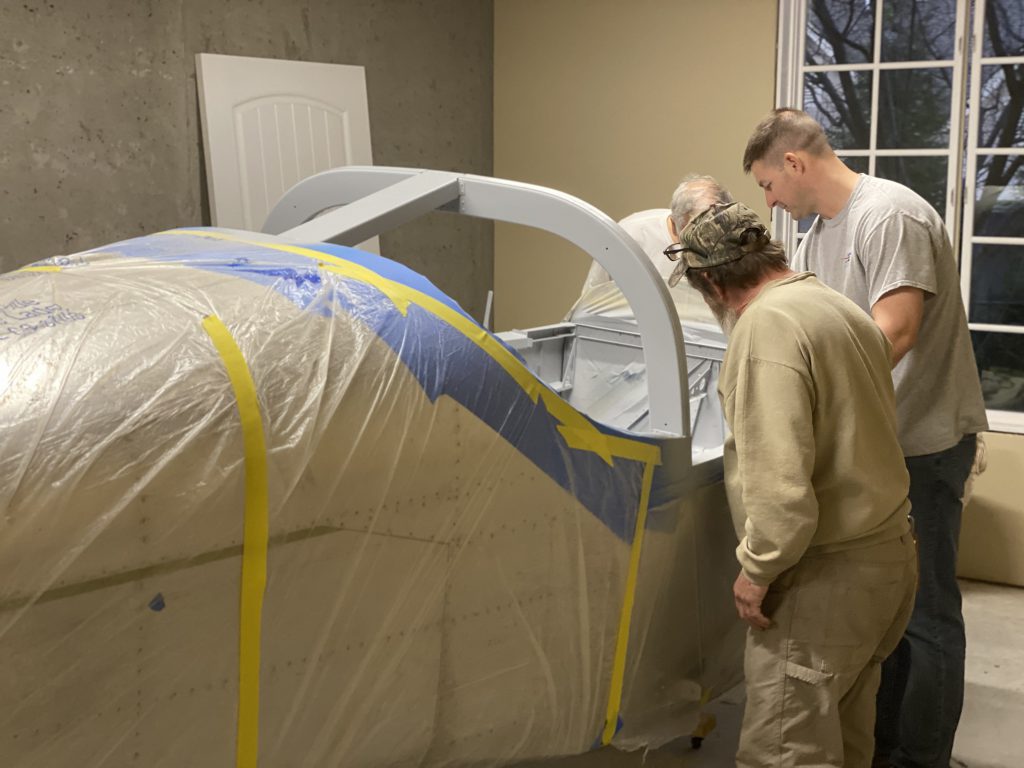
Yup, we decided to move it to my basement so that I could more easily work on it whenever I had some free time. The challenge was getting it into the basement. I determined that taking a window out would allow me to move it into an unused space in the basement that from this point forward will be referred to as “The Airplane Factory”.
Don’t worry, I will be able to get it out in a few months when it is ready for the engine and landing gear.