How to give yourself a heart attack in one easy step…
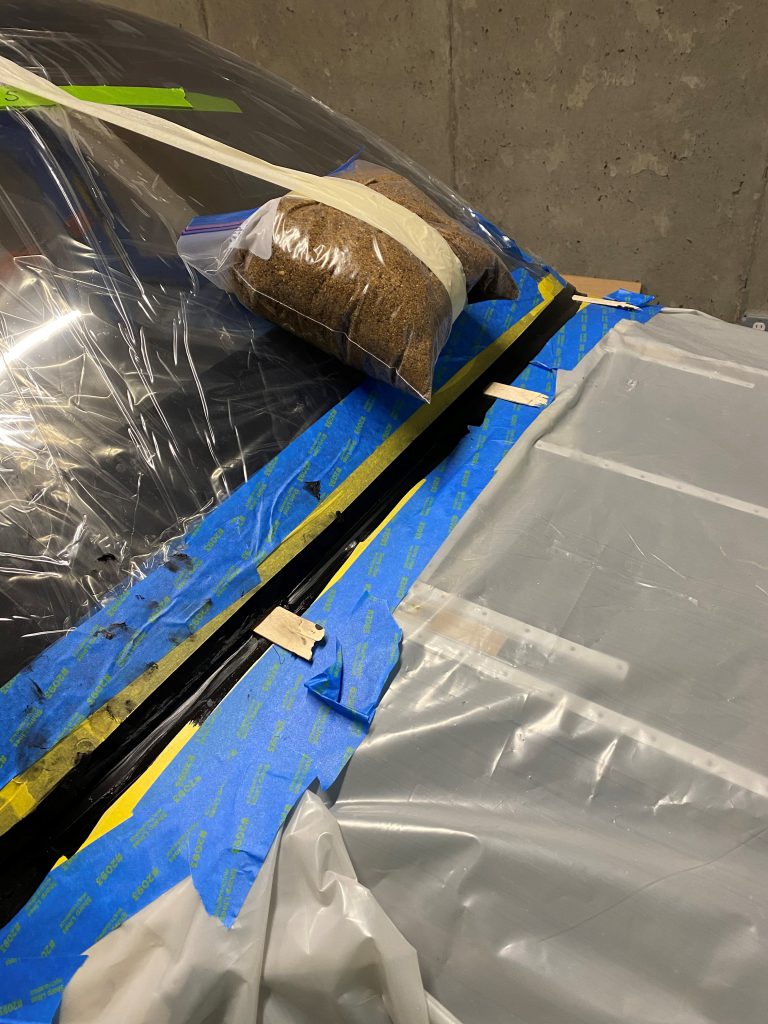
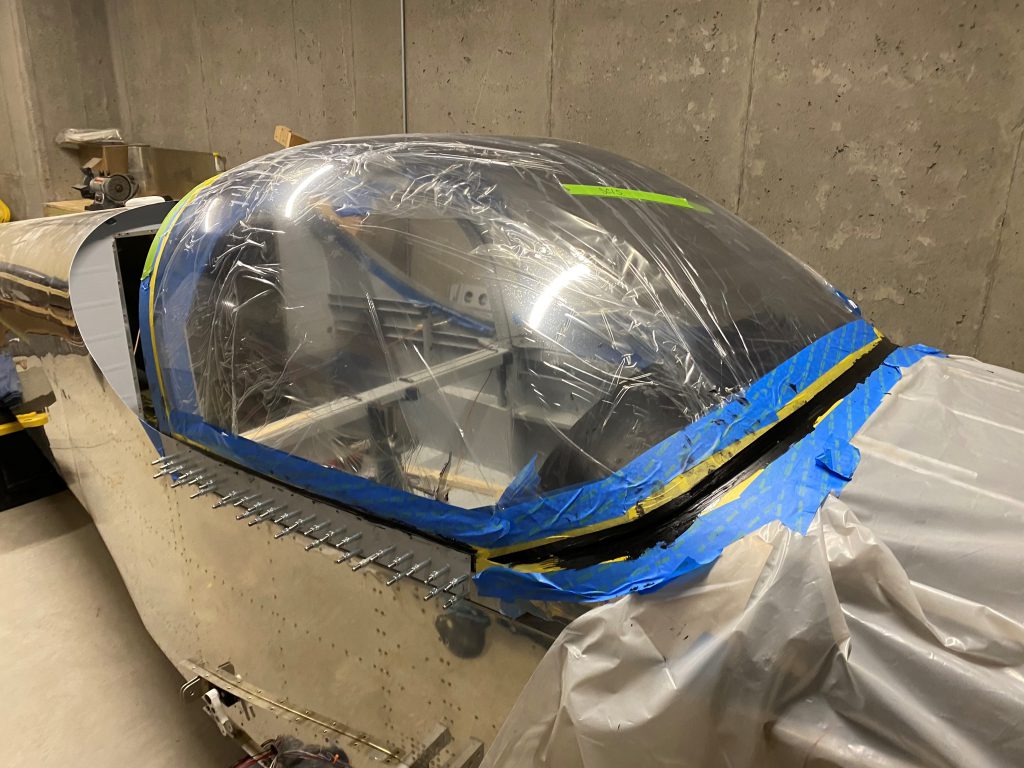
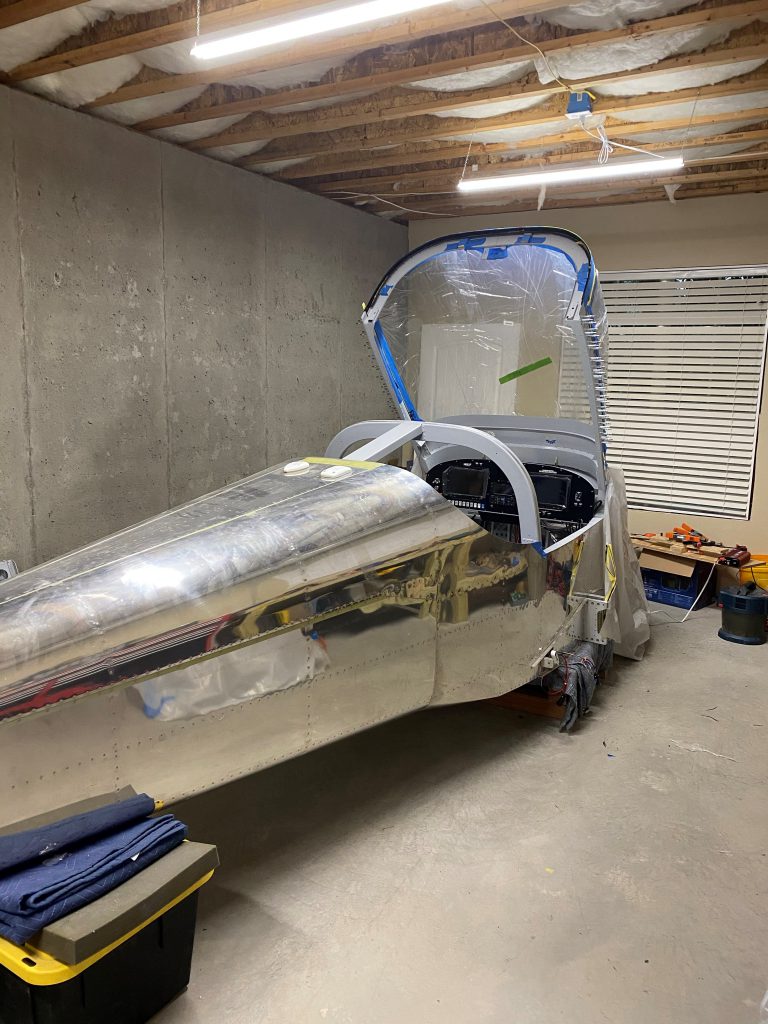
I came down to the workshop about 24 hours after we glued the canopy on. I removed the sandbags and unlatched the canopy. It wouldn’t move at all! I thought that I must have somehow glued the canopy shut accidentally. I envisioned major rework and lots of $$. Luckily, the problem was that I hadn’t loosened the clamps that I was using to secure the canopy to the roll bar. Once I removed them, the canopy opened with only a small amount of persuasion.
The canopy is incredibly solid when it is all connected together. According to others who have older planes (RV6/7 etc.) this canopy is night and day different from the older ones (which had a lot of flex in their canopies).
Overall, I would definitely do Sikaflex rather than screws for the canopy. It is messy and probably costs a bit more, but I believe it is a much better way to go.
Quick tip #1: There is very little room between the windshield and the top of the panel. Make sure to remove any masking tape on the windshield and the top of the panel there before installing. If you don’t, it is a real PITA to get all the tape out of there.
Quick tip #2: Wear gloves – the primer and the Sikaflex do not come off your hands after it dries. I expect my hands will have black stuff on them for several days until it eventually wears off.


