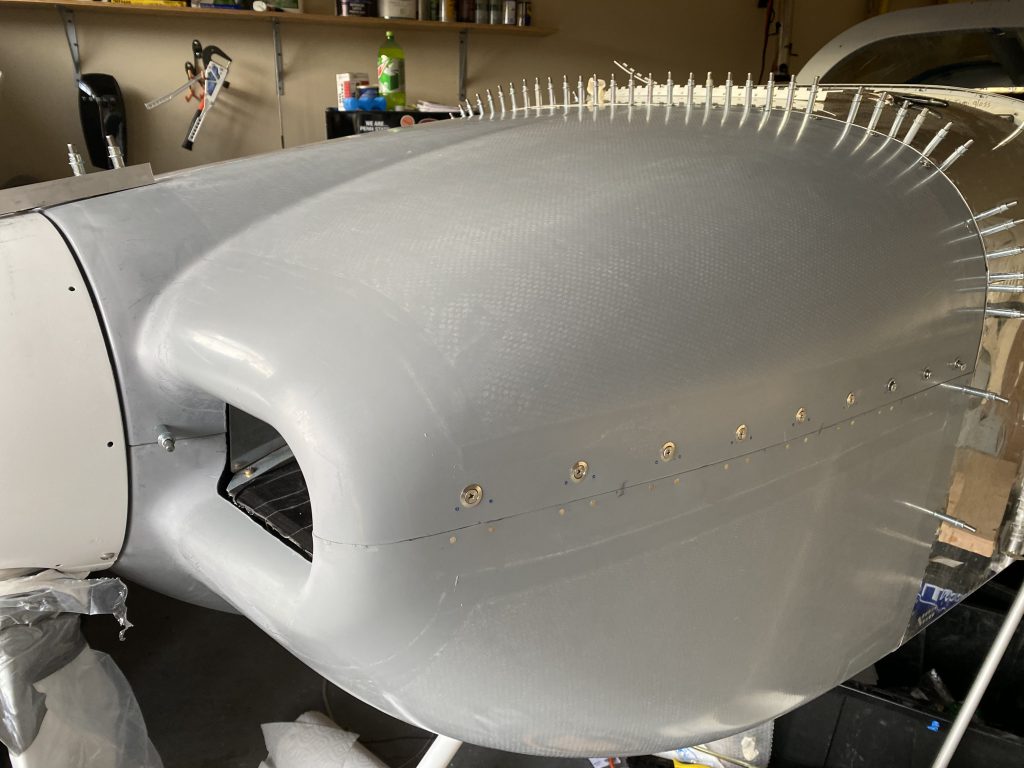
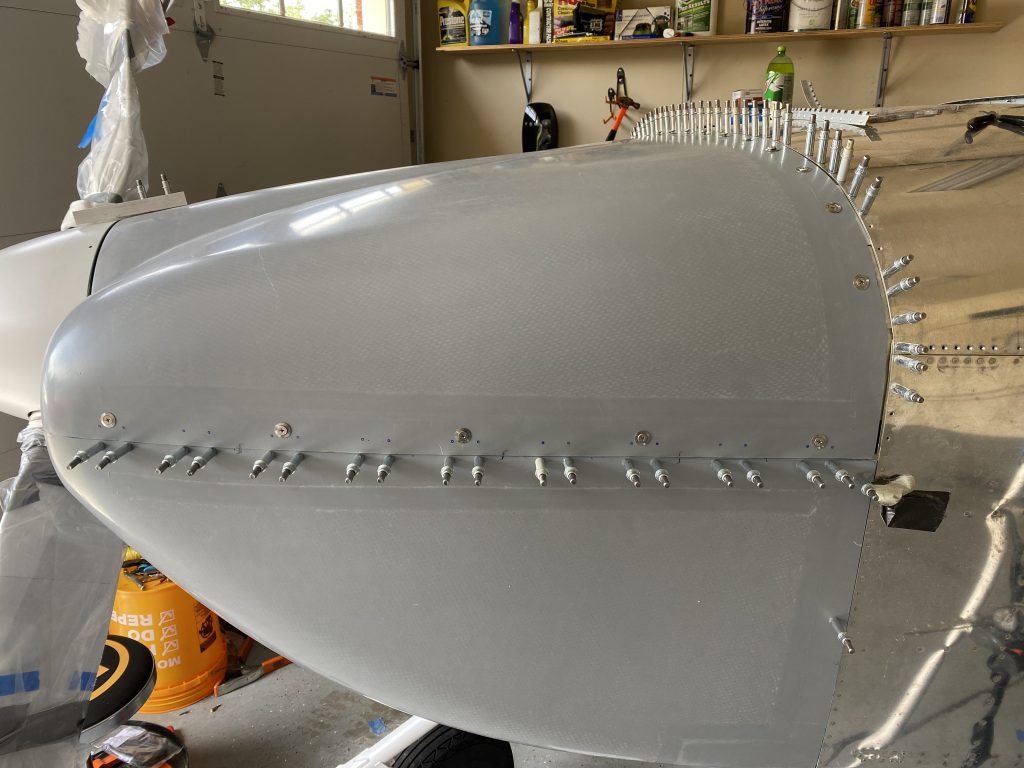
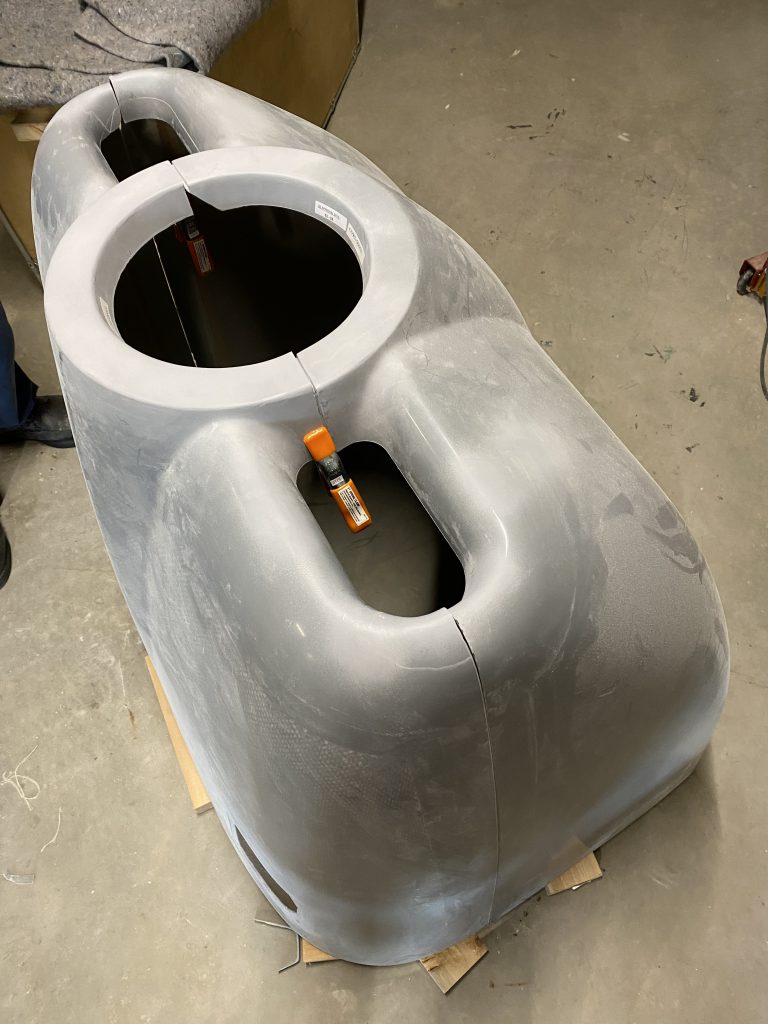
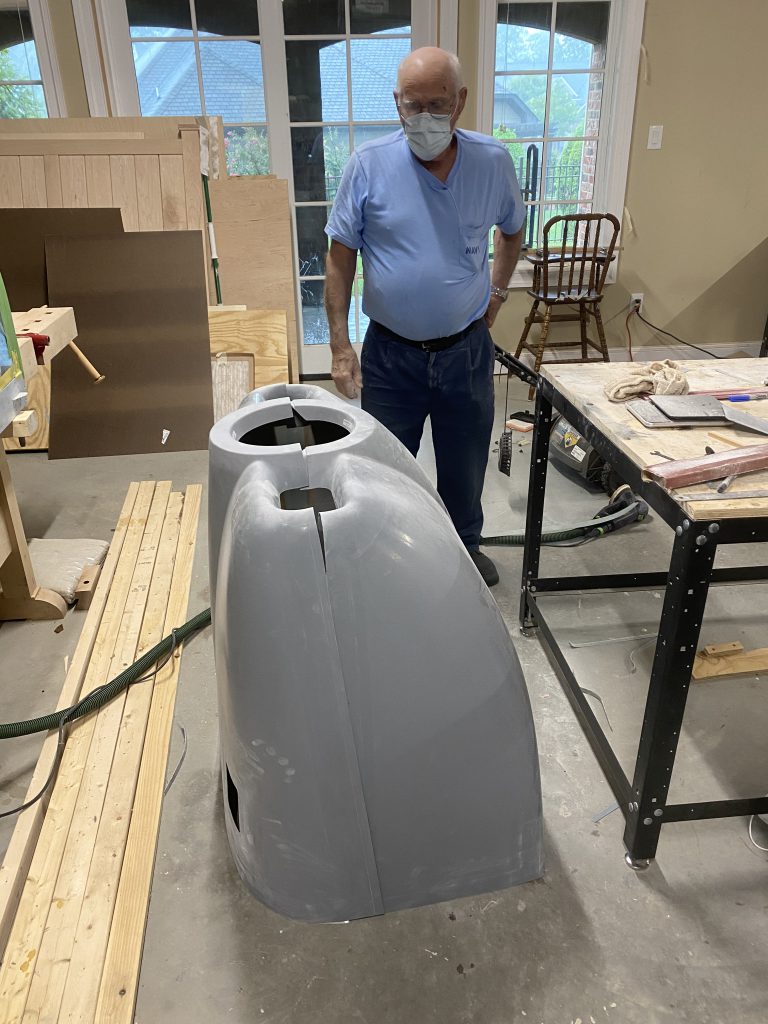
The cowling is now at about 80% complete. My Dad and I worked diligently on the Skybolt installation. Once you get how they work (and Chris Moon helps you) it makes a lot of sense. They probably do not save you tons of time on the installation, but are a nice addition to the airplane.
I have a couple more Skybolts to install and I have to add additional rivets on the sides to strengthen the connection between the top and bottom cowling. I also need to finish the hinges on the bottom cowling on the firewall.
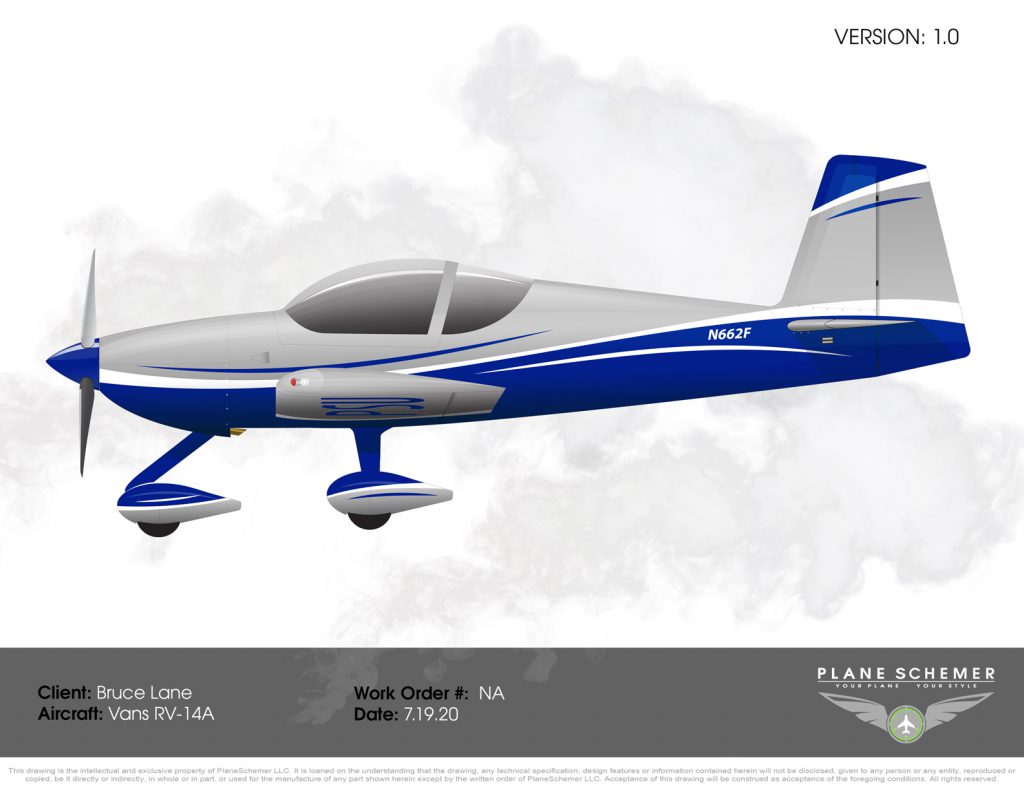
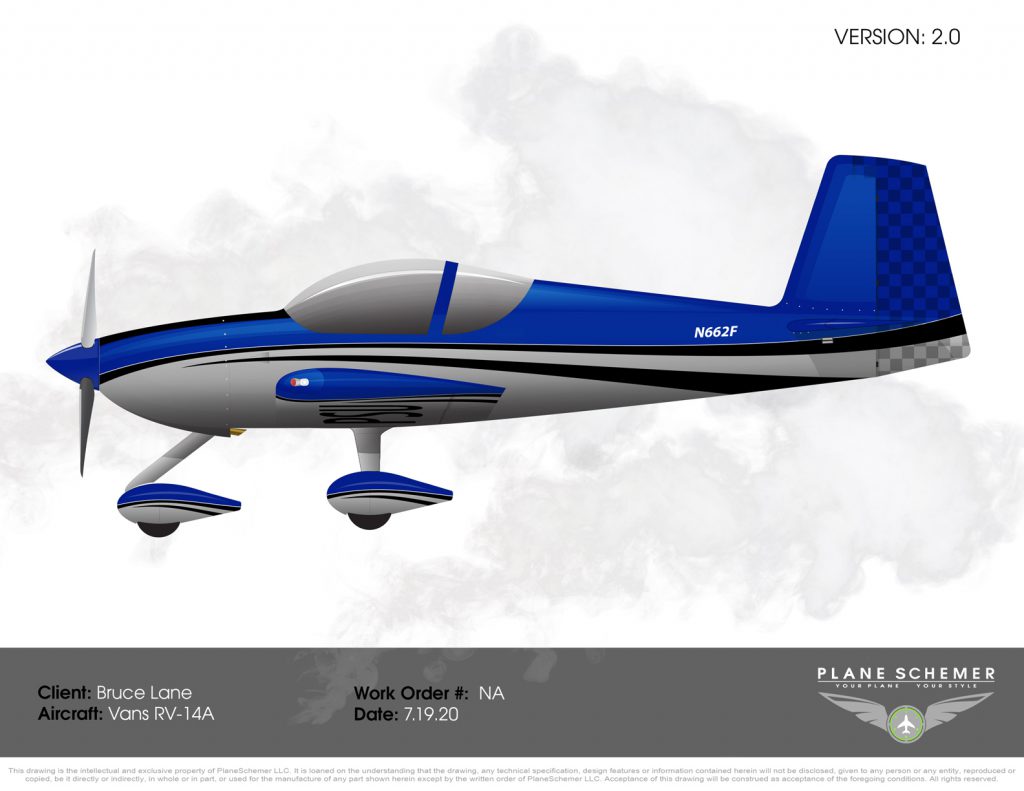
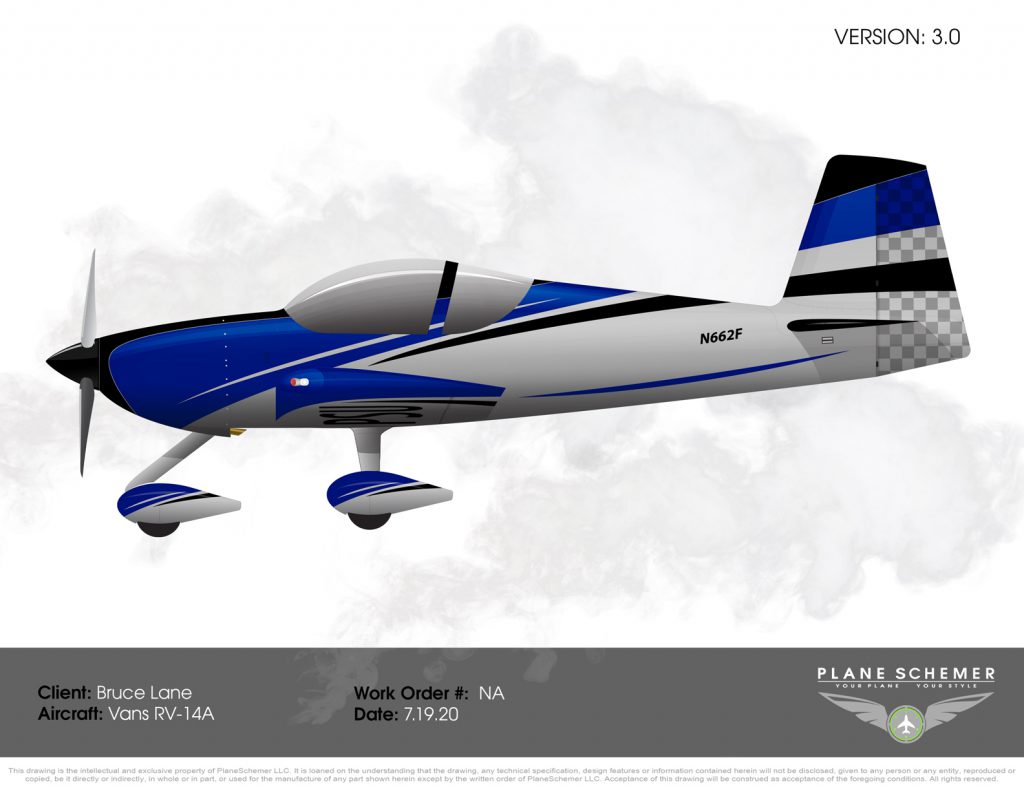
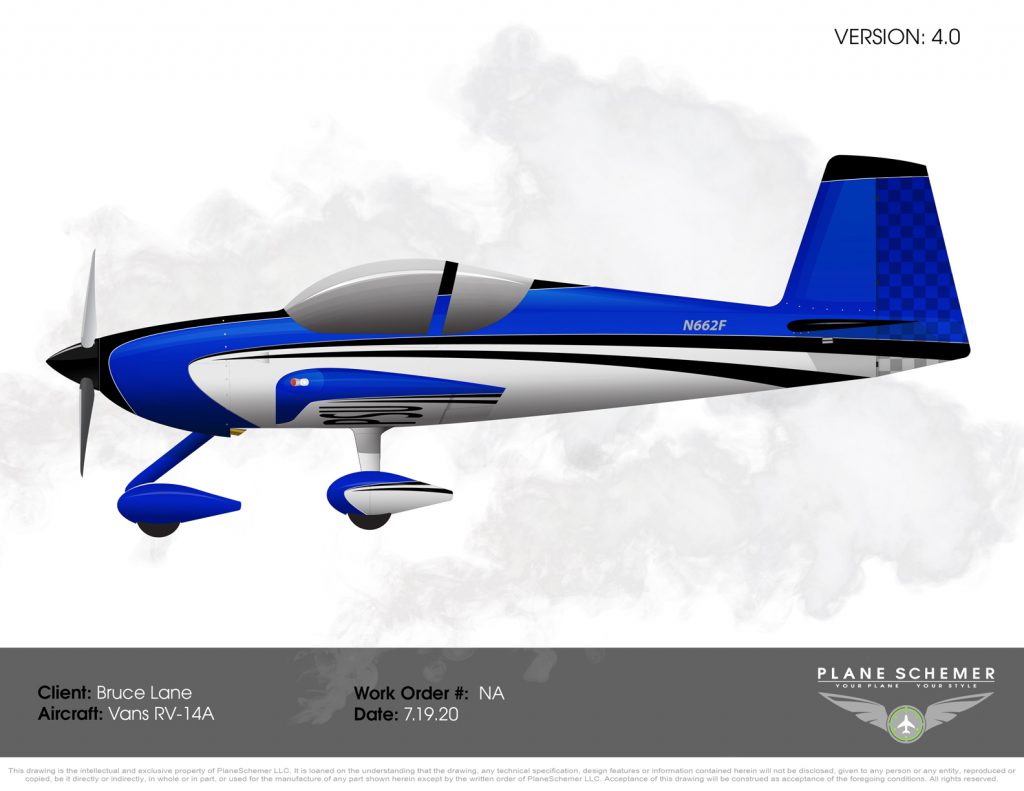
Meanwhile Jonathan McCormick at PlaneSchemer provided several designs for my consideration. The plan is to bring the airplane to his facility in northern Alabama in February for painting. Here are his designs. Marianne and I have already picked one, but I am interested in any input from others who may be reading this.
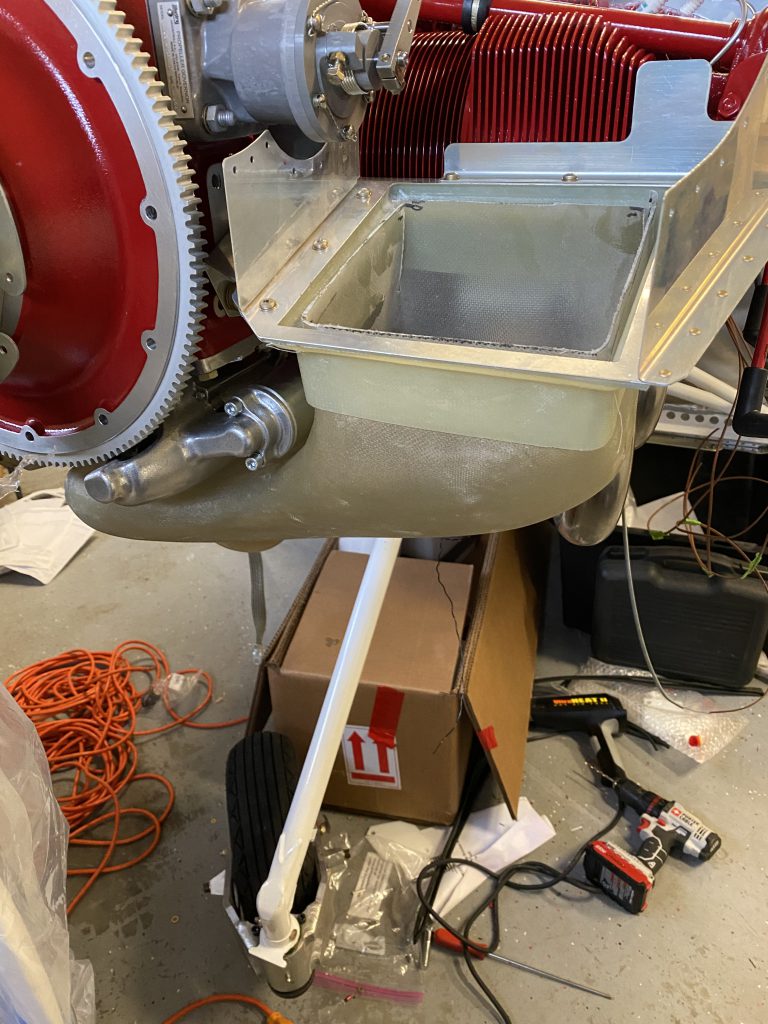
Jim Van Laak stopped by to assist on the engine work. We did the final fit and attachment of the snorkel, attached the mixture and throttle cables, safety wired the propeller and the primary alternator and began working on the cowling.
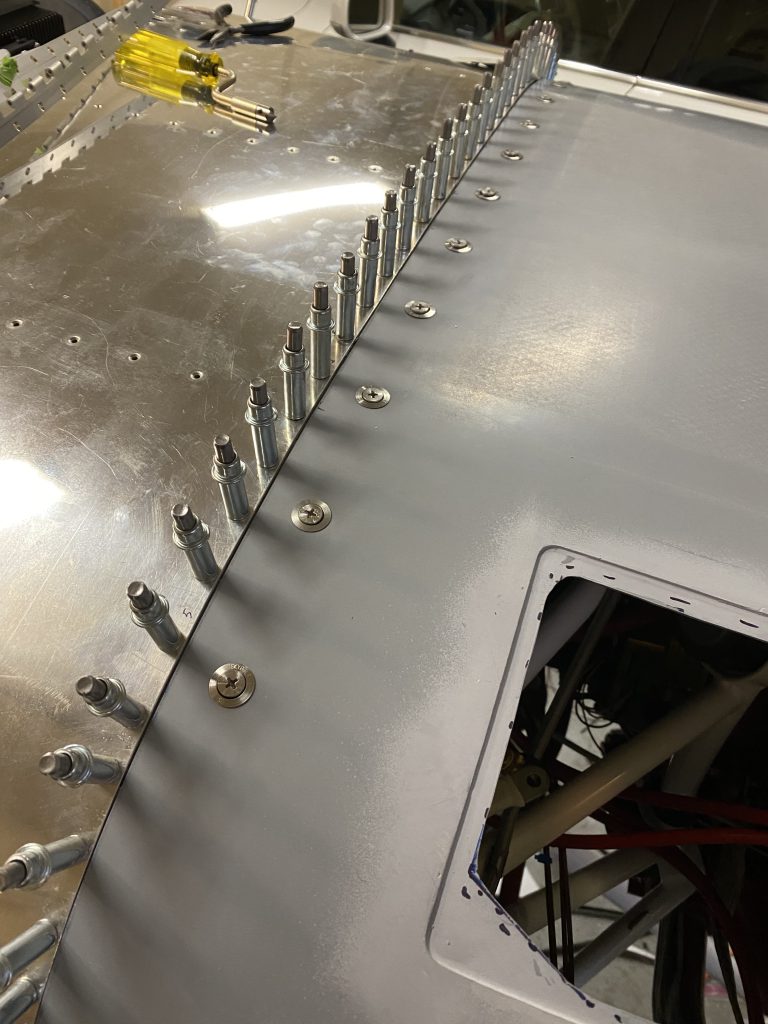
I am using the Skybolt fastener system for the top cowling and using the Van’s hinge system on the firewall side of the lower cowling. I have to say the Skybolt hardware is very nice — their documentation not so much. I am pretty sure I would never have figured it out without Chris Moon and Jim’s assistance. My father and I have nearly completed all the Skybolt fasteners on the aft edge of the top cowling. Still need to adjust each fastener so they lock down flush (easy adjustment).
A few key things I have learned:
you can’t preinstall the Skybolt receivers into the flanges because you need the hole open to scribe the line up on the inside of the cowling.
the receivers have a small pin that you remove after you make final adjustments. This pin needs to face away from the firewall for easy access.
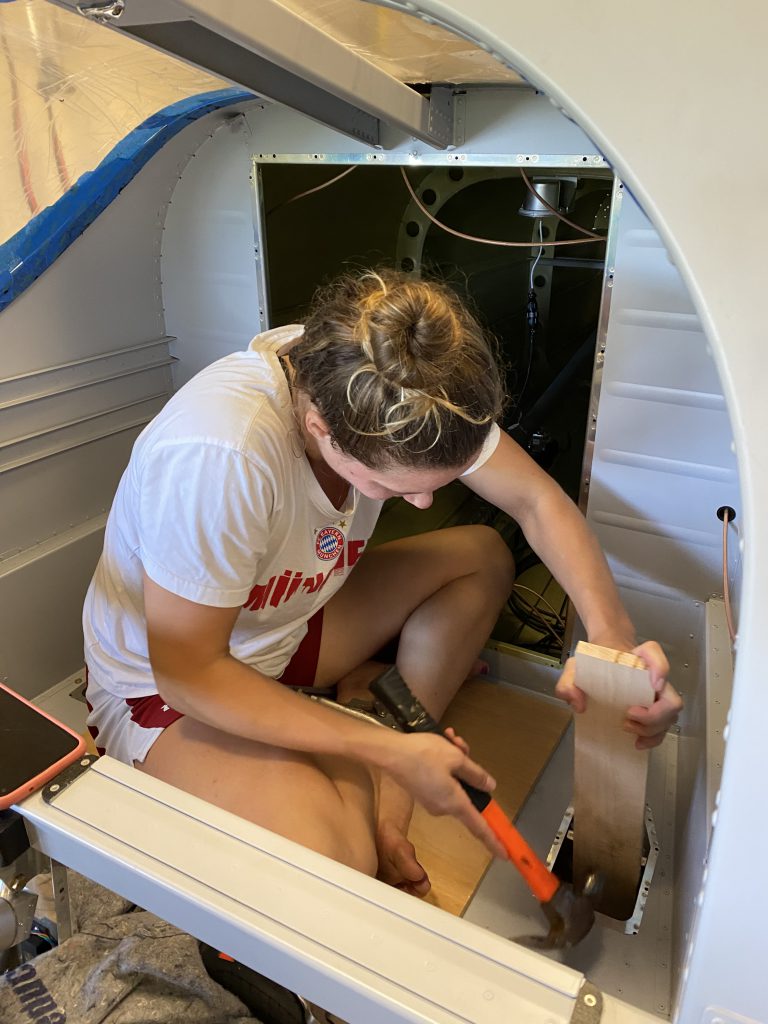
My niece, Sarah, graciously helped by climbing into the airplane and installing a couple washers and nuts that I couldn’t get to (my hands are too big).
I am hoping to finish most of the cowling work this week. Then the exhaust system will be the last big thing to work on. Maybe even move the airplane to the hanger on Saturday.
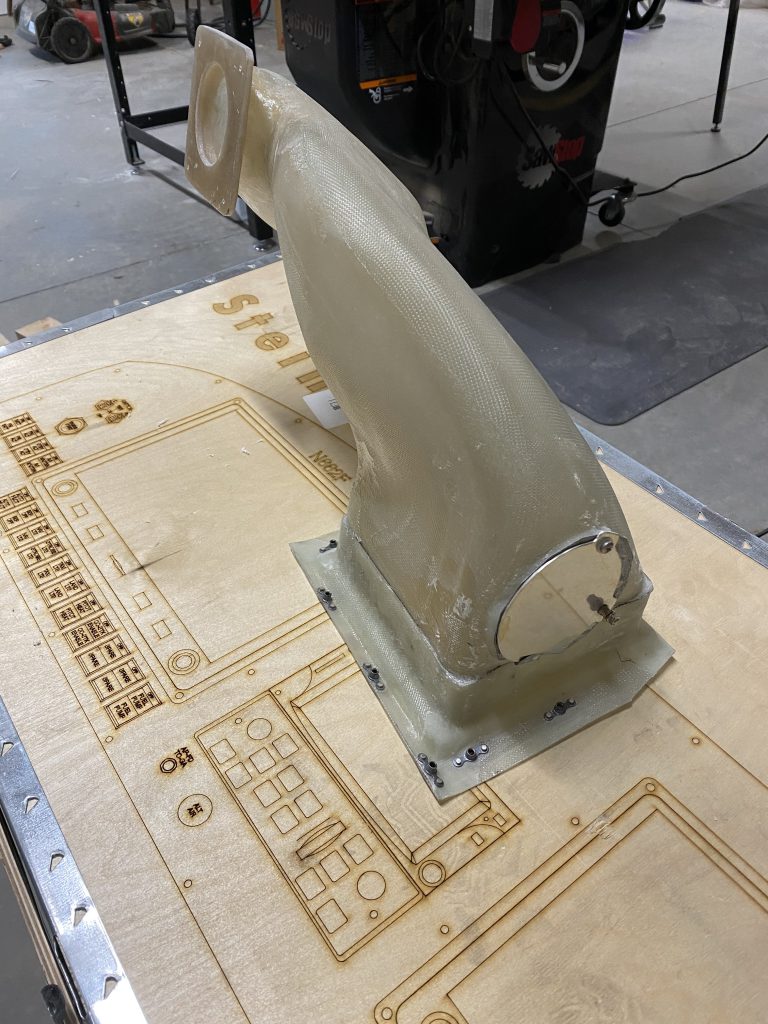
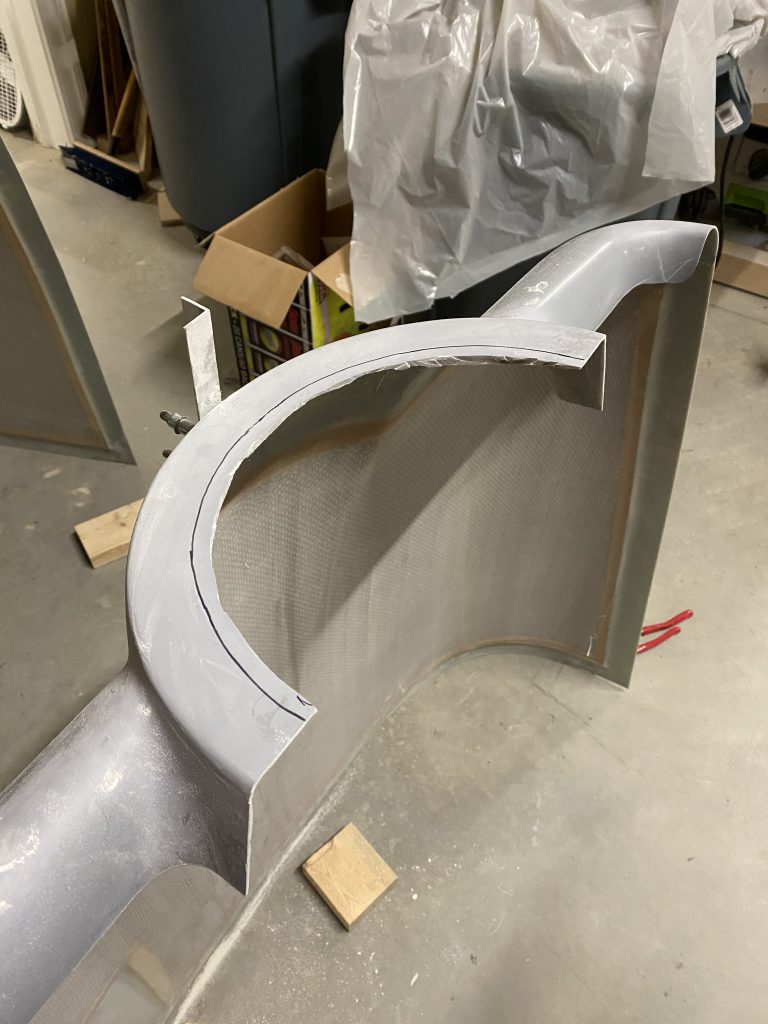
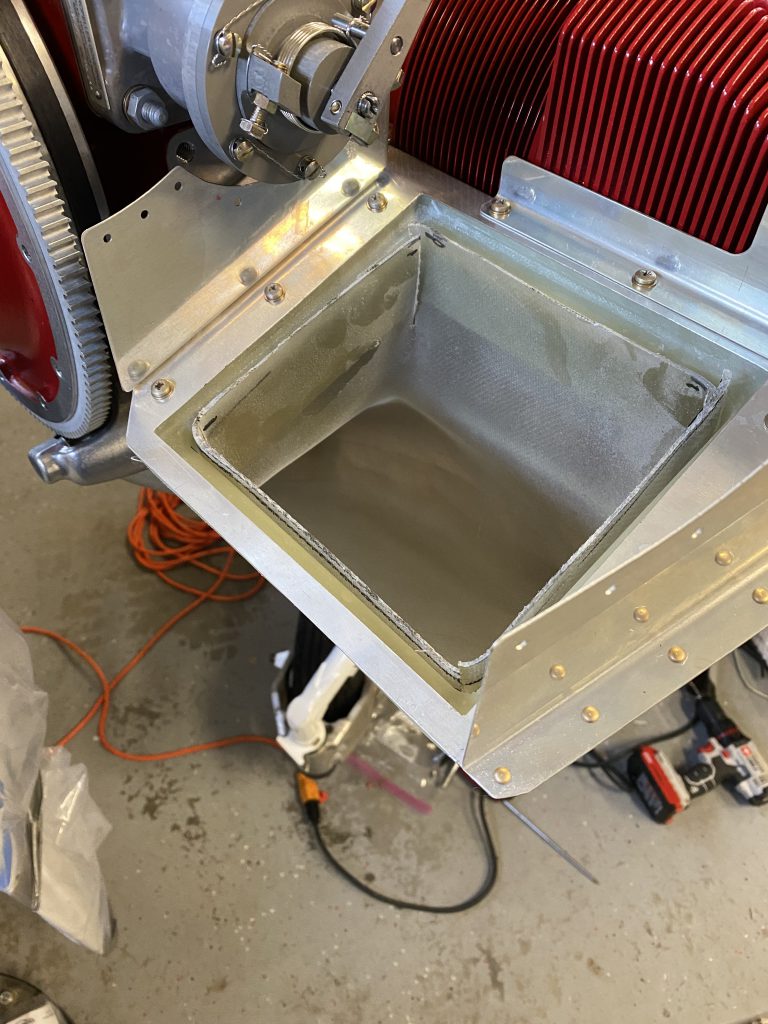
My Dad and I worked on the snorkel some more. We used flox to secure the snorkel to the filter flange. We built the alternate air door and floxxed and riveted it in place. We also decided to build up the bottom edge of the face of the snorkel that attaches to the fuel servo. The snorkel is essentially done now.
Fiberglass work is a bit like arts and crafts day at the cub scouts. It ain’t beautiful, but I think it came out pretty good. You can see the alternate air door here.
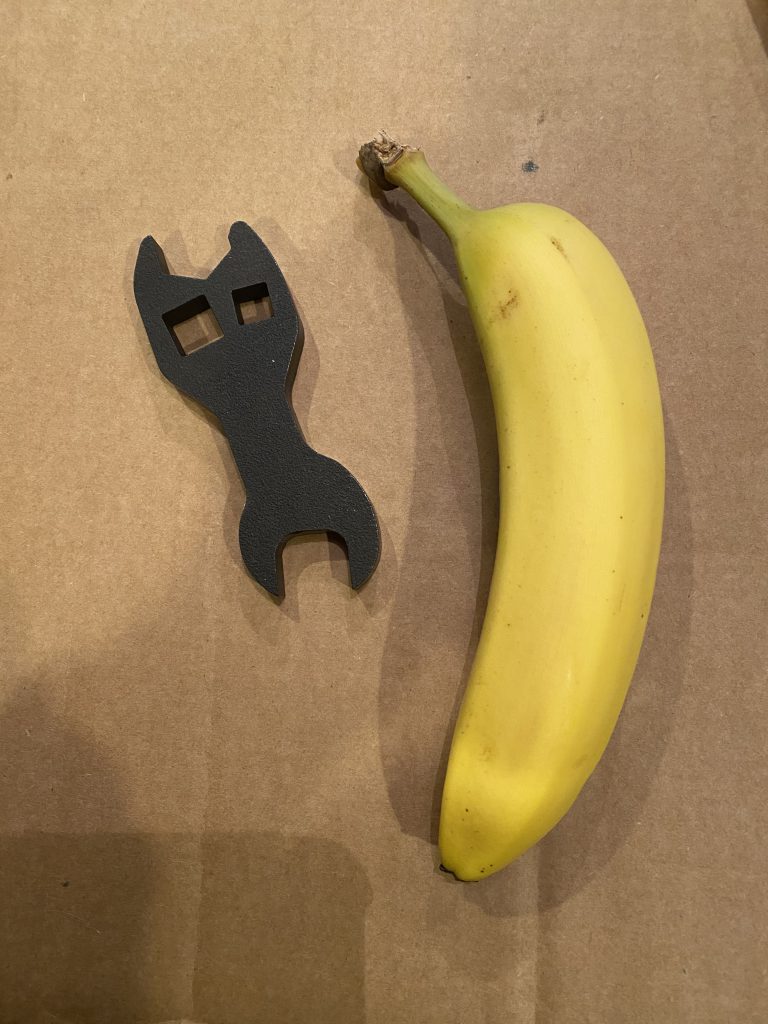
We re-torqued the propeller bolts to 65 ft-lbs using the $70 wrench from Anti-splat.
My $70 wrench. Banana for scale.
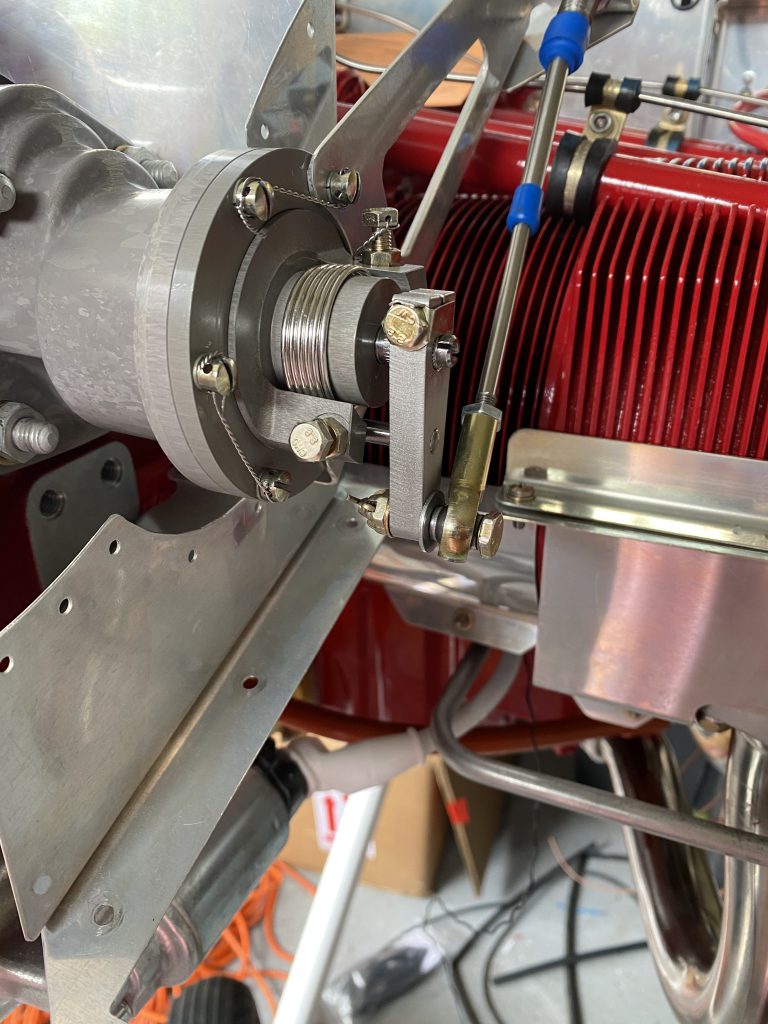
We adjusted the prop governor. We had to move the bolts attaching the control head over one hole to be able to add the prop governor bracket for the control cable. We also had to re-clock the actuator arm about 180 degrees so it is on the bottom rather than on the top. That was where the fun began. The Van’s plans call for using an AN3-10A bolt and a particular washer stack. We did that and found that it was impossible to tighten the nut tight enough to align the cotter key hole in the bolt with the castle nut. If you wrench on the nut, the bolt will sheer off right at the cotter key hole (ask me how I know). We then tried an AN3-11A bolt and found that it was too long if installed as called for by the plans and hits the body of the governor. Finally ended up using the longer bolt and putting it in from the outside which gives much better clearance (this will be the first of two times that I had to go off the plans to make something work today).
The plans call for the bolt to come from the inside to the outside. Due to the thicker arm on the governor arm it was necessary to use a longer bolt (which doesn’t fit going left to right). I checked the motion and all looks good.
Next up, the spinner back plate. The Whirlwind uses a different style two piece back plate compared to the one in the Van’s plans. You don’t have to build it (nice!). The manufacturer’s plans say to put the bolts in from the back and put the nut on the front side of the back plate. There is simply no way to do this, so I put the bolts through from the front side and put the nuts on the back side. This should be safe and secure.
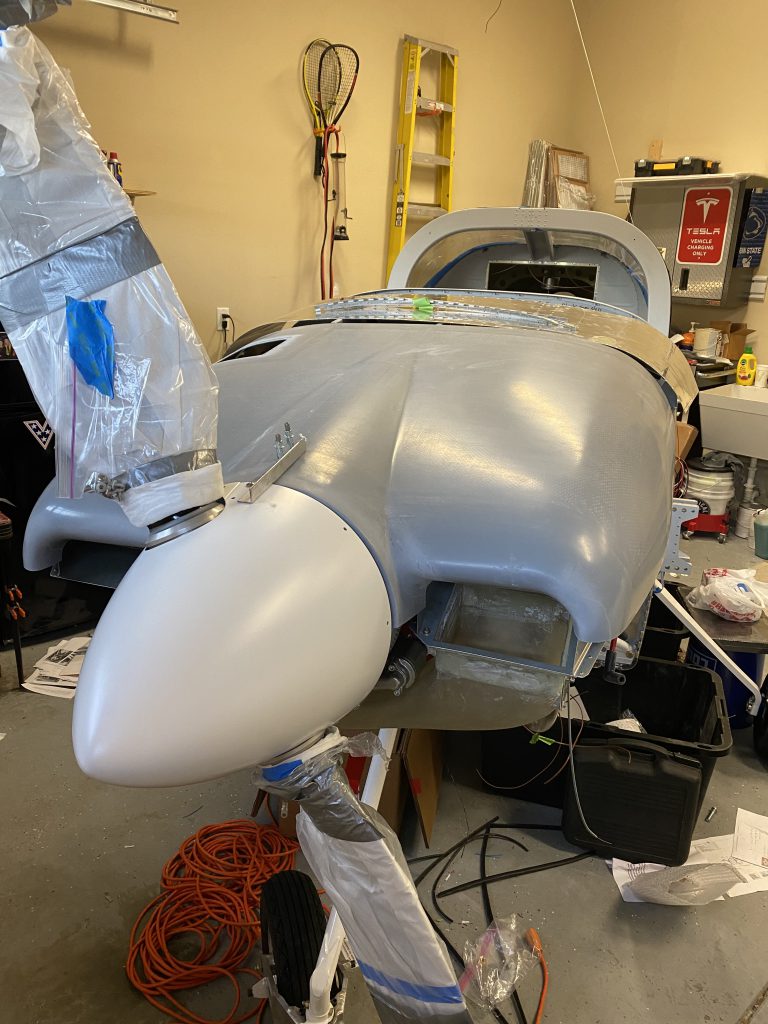
We began fitting the top cowl onto the airplane. We immediately realized that the spinner backplate on the Whirlwind is significantly different than the one Van’s calls out. This mean trimming a lot more off the cowling near the spinner. We have it close now. There is definitely more trimming and sanding in our near future though.
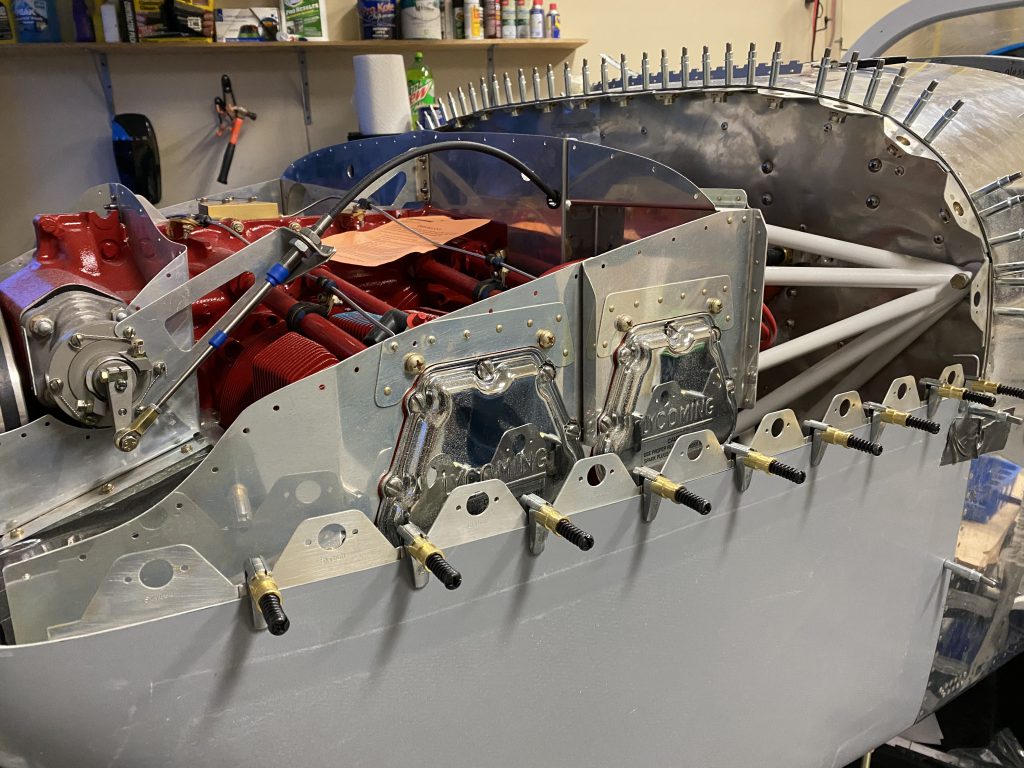
We have been working on the baffles for a few days now. There are a lot of connection points for the baffles. Some are easy to install and some are a real bear. On each “corner” of the engine there is a floating connector that a bolt threads into. They are in a difficult spot to get to and you have to get them lined up properly to get the bolt in. A bit of grease helps to keep them in place while you tighten the bolt.
The next un-fun step is to fabricate the rods that connect the bottom of the baffles together. I needed to borrow a 6-32 die to thread the rods – which is actually hard work.
The good news is that the baffles are 98% done (one bolt is giving me a hard time).
We also began working on the snorkel. As several people have pointed out you will likely spend 20 hours thinking about a task that takes 3 hours. We have it mostly cut to the correct size now. I need to glass up the corners of the snorkel where it goes into the filter holder. Then I need to cut the hole for the alternate air source.
The key here is to make four vertical cuts (one at each corner) on the snorkel. Each cut should be about 3 inches long. This will allow the snorkel to slide up into the filter frame. After I attach the snorkel to the frame, I will “repair” the corners.
I may modify the fuel servo end of the snorkel to make the hole size more closely match the FM 150 inlet. I know people that have done this and others that have left it as is.
Meanwhile, we have some final electrical connections to make, and will need to start on the exhaust soon.
My father, Drew and I installed the propeller onto the engine this morning. It is a Whirlwind 74HRT fiberglass propeller. It is a very nice looking propeller and I am excited to try it out (hopefully soon). It is not especially heavy, but it is important to install it straight and pull up the six bolts evenly.
The first task before installing the propeller is to remove the metal plug in the end of the crankshaft. It is there if you are using a fixed pitch propeller. I used a screwdriver and a hammer. You basically punch the center of the plug until it deforms and then the plug falls out. I know some people drill a hole in it to get it out, but that risks getting some contamination into your crankcase.
The three of us lifted the propeller on and hand tightened the bolts. I’d like to say it went on very smoothly with little effort. The truth is that the first time we did it, we didn’t get it on straight and I decided to take it back off and try again. When we took it off, I noticed that one of the threaded bushings had been pushed back on the crankshaft flange. The Lycoming tech support guy had a great suggestion on how to reseat this bushing without damaging it. You take a big socket and put an installation bolt through it and insert the bolt into the front side of the bushing. As you tighten the bolt it will pull the bushing forward. Much better (and easier) then hitting it with a mallet.
You can see the bushing pushed backward here. A socket and bolt on the other side works great to pull it back into place.
The installation manual calls for the bolts to be torqued to 65 ft-lbs. Even with a crows foot, I was only able to get my torque wrench on to two of the six bolts. A $70 wrench for this task is available from Anti-Splat Aero. I hated parting with $70, but I love Anti-Splat and was only momentarily sad.
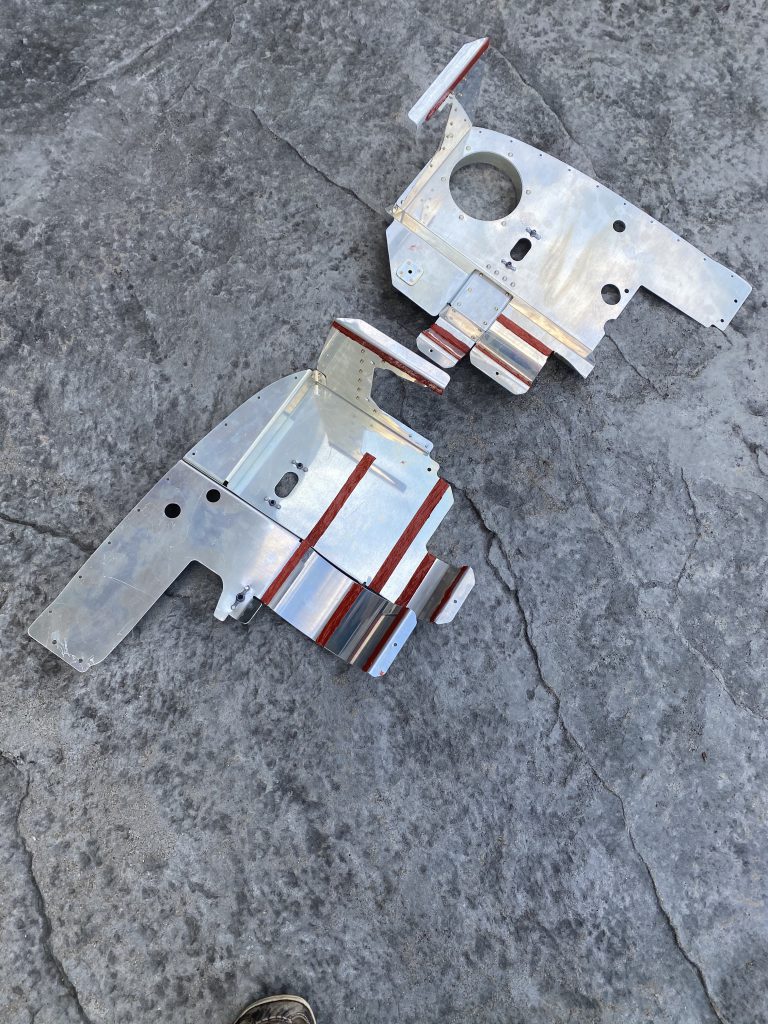
Meanwhile we put the RTV onto the baffles. You install a relatively thin coat in several places on each baffle. It takes 24 hours to dry so they are sitting off to one size until tomorrow morning. Before doing the RTV, I test fitted the two back baffles – they fit tight but they do fit. Tight is much better than loose.
Two of the four baffles with the RTV on them.
We continued to sand and fit the cowling halves down in the basement (it’s cooler down there). I made the decision to use SkyBolt fasteners for most of the cowling instead of piano hinge. $400 with a discount from SkyBolt.
Next up, install the baffles, more wiring and fitting the cowling. The Vetterman exhaust will be soon after that. Then lots of clean up tasks like wire management, intersection fairings, timing the mags etc.
My Dad and I continue to grind through the various electrical and plumbing tasks forward of the firewall. We also began working on the cowling which is lots of messy grinding and sanding.
You have to cut/grind both halves of the cowling to the scribe lines. One problem we ran into is that the scribe lines are very difficult to see.
We installed the oil cooler and the hoses to it.
Things are starting to get crowded back here.
We did the initial wiring to the right P-Mag. So far I decided to leave the other P-Mag off to give more access to the fuel pump until I finish the hose connections there.
We worked on running some of the ignition wires and putting the adel clamps where they need to be. Two big learnings here:
The safety wire trick for closing adel clamps while you are trying to get the bolt through them is GOLD. Simply put a loop of safety wire around the clamp(s) and use your safety wire pliers to close them up. So much easier than trying to squeeze them with your fingers or a pair of traditional pliers.
In the case where you need to enlarge the holes in the adel clamp for a bigger bolt, it is super easy to do with a uni-bit and painfully difficult with a traditional drill bit. In defense of Van’s they tell you this in the instructions.
I did some of the butt splices for things like the fuel and oil pressure sensors. I didn’t like the way some of them came out so I will likely redo at least some of them. I ordered longer pieces of heat shrink to slide over the splice to give them a cleaner look.
I broke down and ordered a Bogert tow bar from Spruce (significantly cheaper than ordering directly from the manufacturer). I had one for my RV-10 and they are good quality, but I think $200 is sort of highway robbery for one of these things. Just my opinion.
I realized that the trailer I had planned to use to transport the airplane to the airport isn’t wide enough to accommodate the landing gear. I have a couple of alternate plans and I don’t have to address this issue for a couple more weeks (my engine work is taking longer than I anticipated).