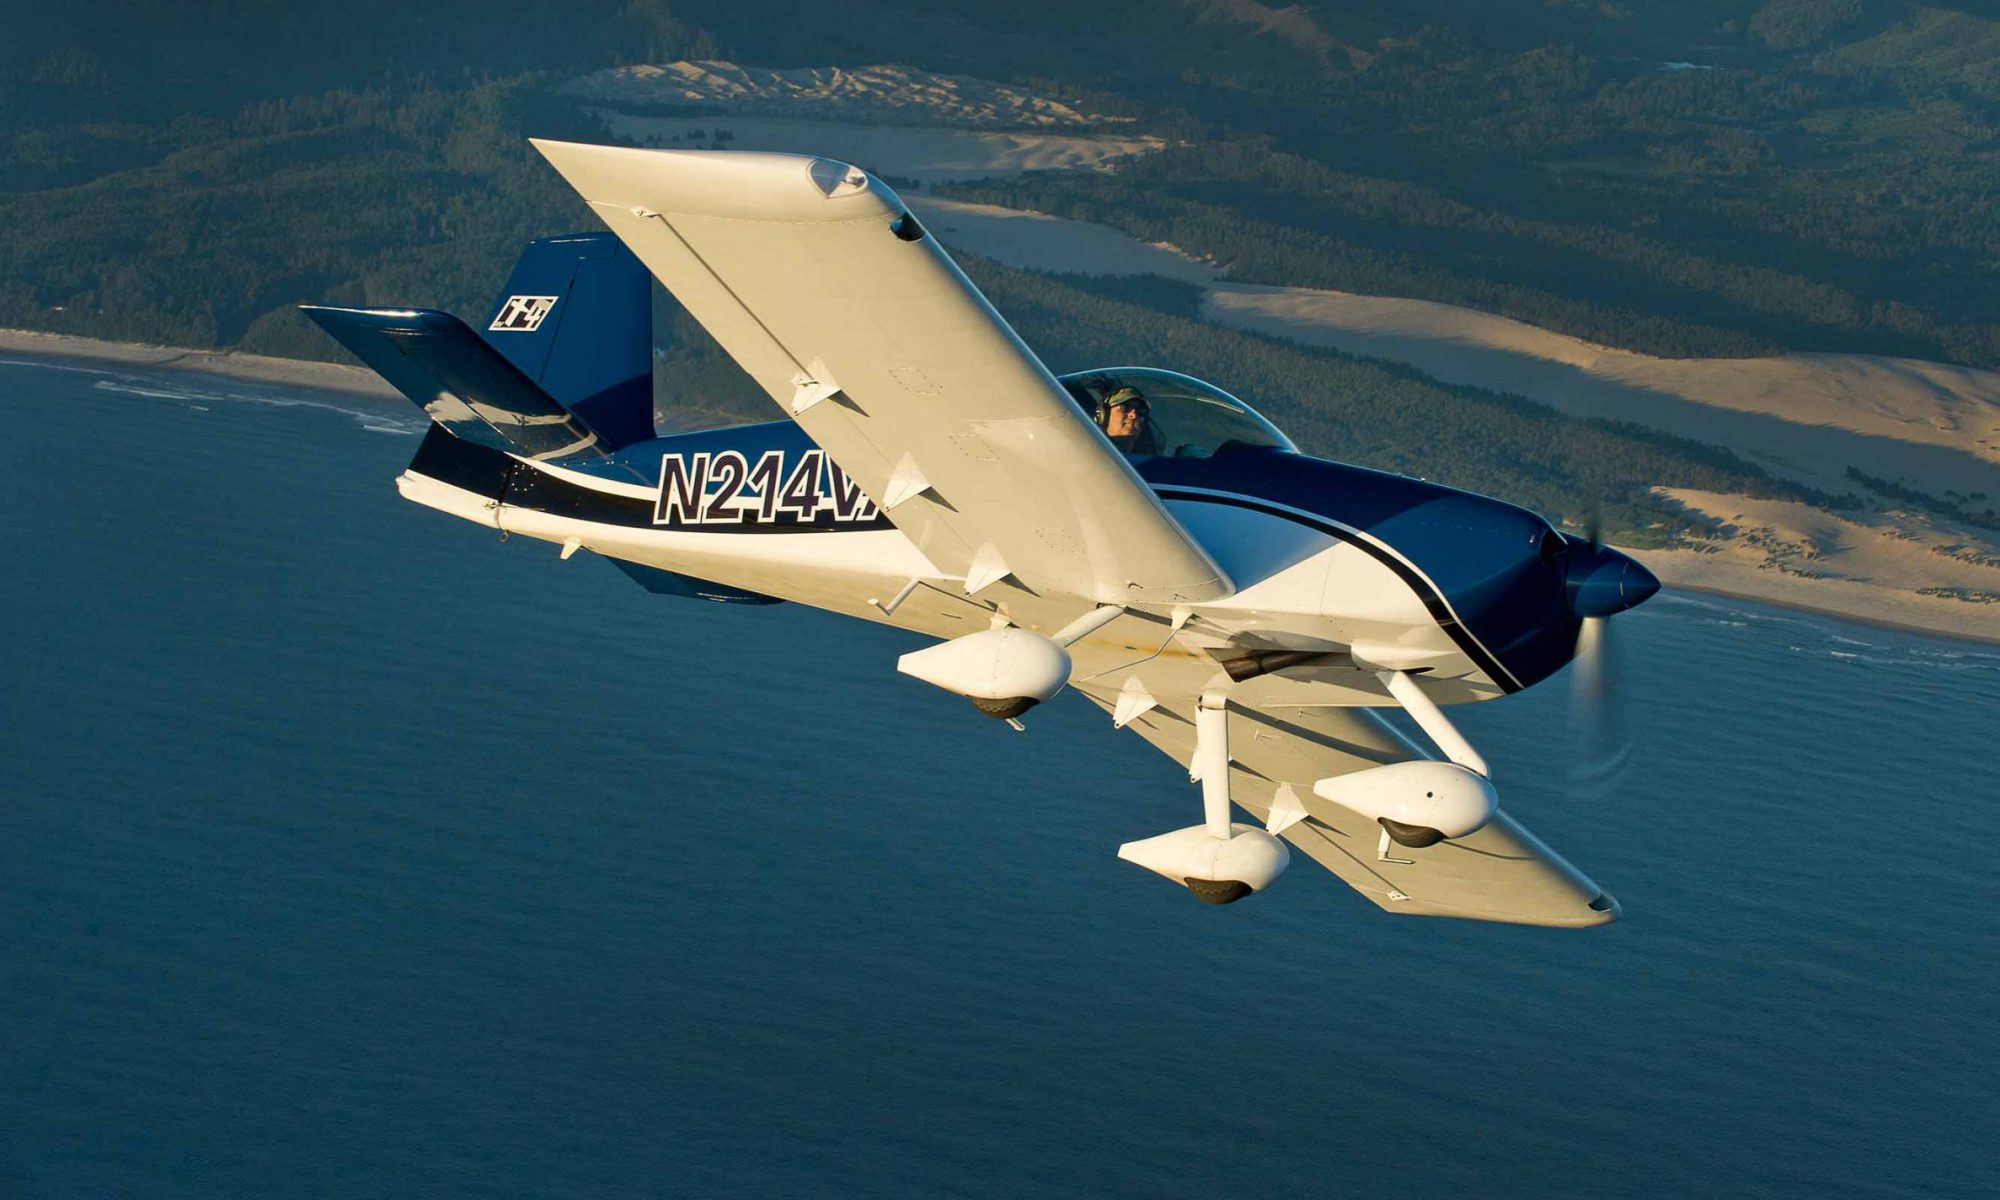
My father, Drew and I installed the propeller onto the engine this morning. It is a Whirlwind 74HRT fiberglass propeller. It is a very nice looking propeller and I am excited to try it out (hopefully soon). It is not especially heavy, but it is important to install it straight and pull up the six bolts evenly.

The first task before installing the propeller is to remove the metal plug in the end of the crankshaft. It is there if you are using a fixed pitch propeller. I used a screwdriver and a hammer. You basically punch the center of the plug until it deforms and then the plug falls out. I know some people drill a hole in it to get it out, but that risks getting some contamination into your crankcase.
The three of us lifted the propeller on and hand tightened the bolts. I’d like to say it went on very smoothly with little effort. The truth is that the first time we did it, we didn’t get it on straight and I decided to take it back off and try again. When we took it off, I noticed that one of the threaded bushings had been pushed back on the crankshaft flange. The Lycoming tech support guy had a great suggestion on how to reseat this bushing without damaging it. You take a big socket and put an installation bolt through it and insert the bolt into the front side of the bushing. As you tighten the bolt it will pull the bushing forward. Much better (and easier) then hitting it with a mallet.

The installation manual calls for the bolts to be torqued to 65 ft-lbs. Even with a crows foot, I was only able to get my torque wrench on to two of the six bolts. A $70 wrench for this task is available from Anti-Splat Aero. I hated parting with $70, but I love Anti-Splat and was only momentarily sad.
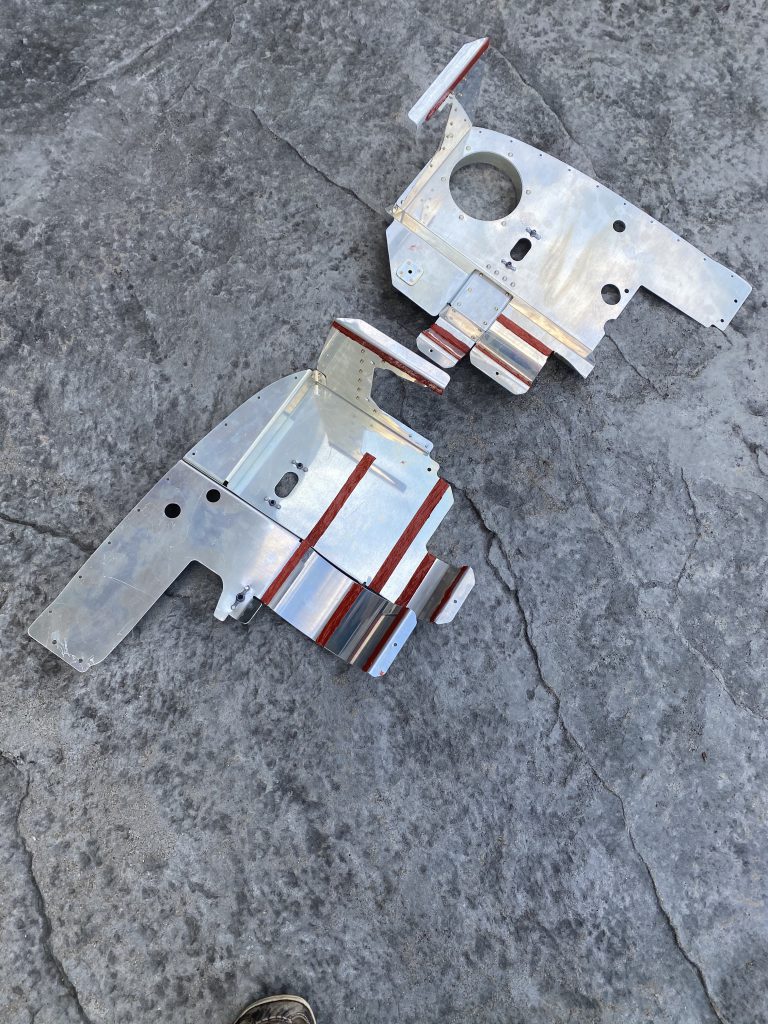
Meanwhile we put the RTV onto the baffles. You install a relatively thin coat in several places on each baffle. It takes 24 hours to dry so they are sitting off to one size until tomorrow morning. Before doing the RTV, I test fitted the two back baffles – they fit tight but they do fit. Tight is much better than loose.
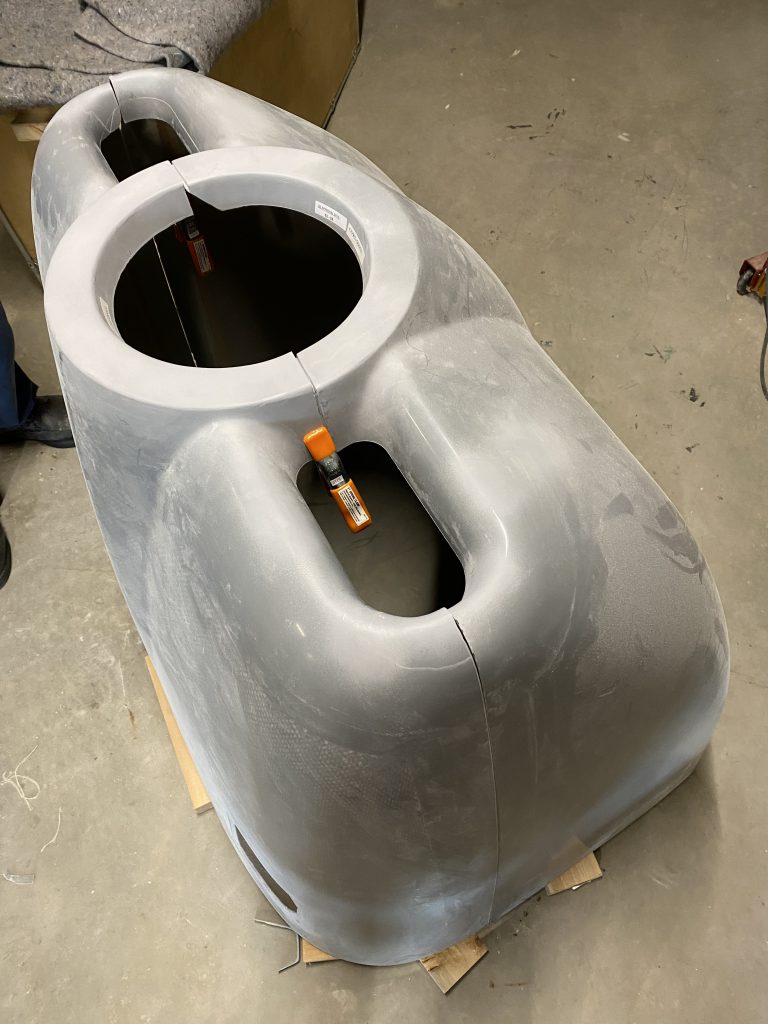
We continued to sand and fit the cowling halves down in the basement (it’s cooler down there). I made the decision to use SkyBolt fasteners for most of the cowling instead of piano hinge. $400 with a discount from SkyBolt.
Next up, install the baffles, more wiring and fitting the cowling. The Vetterman exhaust will be soon after that. Then lots of clean up tasks like wire management, intersection fairings, timing the mags etc.
Nine hours (3 people x 3 hours)