This took me about five hours. Probably should have taken me about half that much but I took it back apart twice before I got it right. The first time was because I did a couple steps out of order and wouldn’t you know it, the first step blocked me from doing the second step. Follow the freaking directions!
The second time was because I had one of the linkages installed incorrectly which caused it to bind up. After several minutes of head scratching, I saw my mistake and fixed it. The good news is that I was getting better (faster) at putting it together each time.
We decided to replace the Van’s standard latch handle with a much better built handle from a third party source. I think it looks a lot better.
Five hours.
You can see the improved latch handle on the right in this picture. The Van’s supplied handle looks like it belongs on a cheap screen door.
The airplane has two alternators (primary and standby). The larger primary runs off a drive belt while the smaller standby alternator is mounted on the accessory drive pad on the engine. They are B&C alternators so they each have an external voltage regulator. Many people mount the regulator(s) in the engine compartment on the firewall. B&C actually recommends they be mounted away from heat, moisture and vibration. Jon and I decided to put them in the “pit” on the backside of the firewall. Much cooler and drier and presumably less vibration in this location — but more difficult to get to if maintenance is necessary.
I will move the engine oil pressure sensor line on the front side of the firewall which has a minor interference with one of the bolts used to mount the primary alternator voltage regulator.
Uggh! What a tedious task. I have been at it for about eight hours (mostly in the evening). So many bolts, nuts, washers, nut plates… I am almost done, I think.
I honestly can’t figure out where a lot of this stuff will go. There are crazy amounts of very tiny nuts that I simply can’t envision where they will be used.
The hinge holds the upper cowling to the firewall. To remove the cowling, you pull the hinge pin out and the cowling can then be removed.
I have struggled with this seemingly easy step for a couple weeks. The instructions appear to have an error in them. The index holes that they call for do not line up with the holes in the firewall flanges and the top skin.
I also was concerned that the holes in the hinge that they call for in the instructions will be too close to the edge of the hinge. I have seen two different tolerances for edge distance: 2 diameters and 1.5 diameters (from the center of the hole to the edge). In this case, that would mean an edge distance of 3/8″ or 9/64″. My first attempt was a little shy of that smaller distance. Perhaps a more experienced builder would have ignored this and continued on but it bugged me.
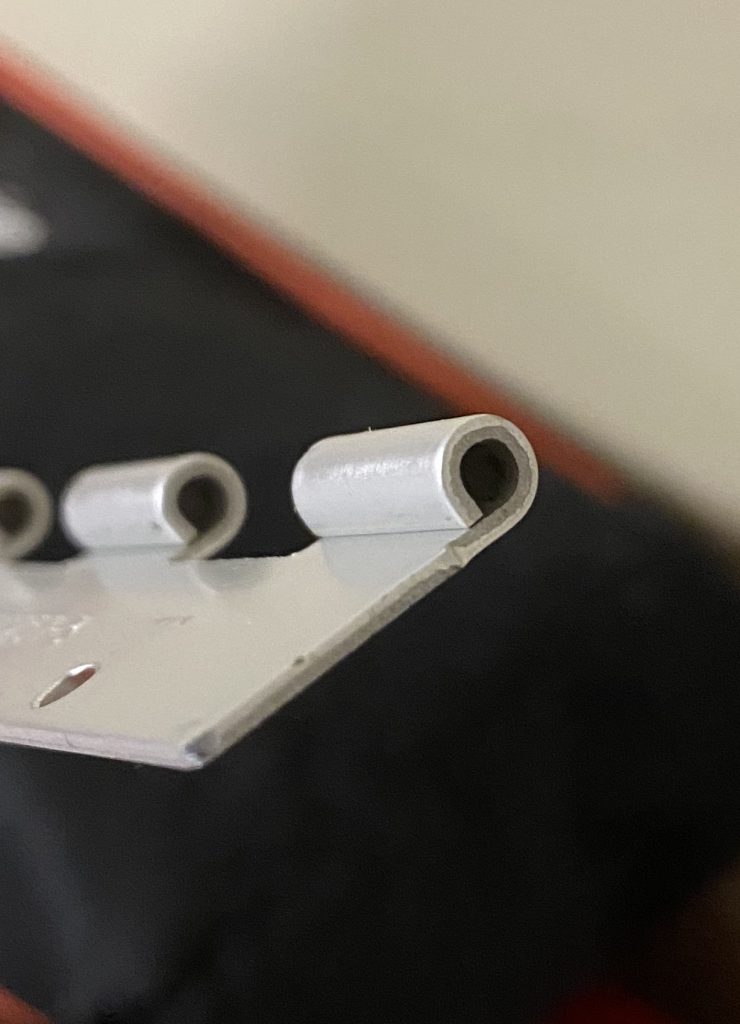
While doing research on this topic I found Stu’s Aircraft Factory on Youtube. He built an RV-8. He has lots of interesting building tips. He mentioned in one video that the piano hinge supplied by Van’s is MS20257-3 and is susceptible to having broken knuckles (eyelets) over time. He recommended substituting MS20001P-3 extruded aluminum hinge. About 4x more expensive, but I decided to go with it since I had several broken knuckles on the RV-8 and RV-10 that I had owned.
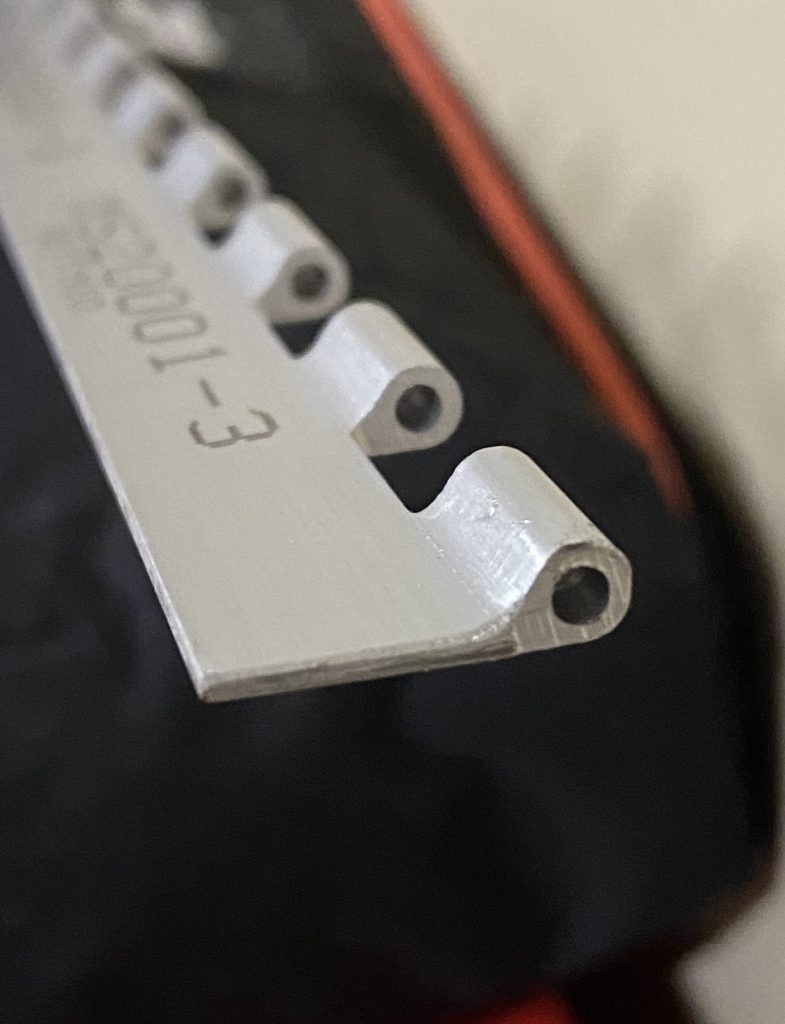
I am confident in saying he was right and the added expense was worth it. Look at the difference between the two parts in the following pictures.
This is the original part from Van’s, an MS20257-3. Each knuckle is just formed by rolling the edge. Here is the more expensive MS20001P-3 extruded part. You can see each knuckle is one much more substantial piece.
I spent about an hour putting the hinge on and match drilling it. I am happy with the result so far.
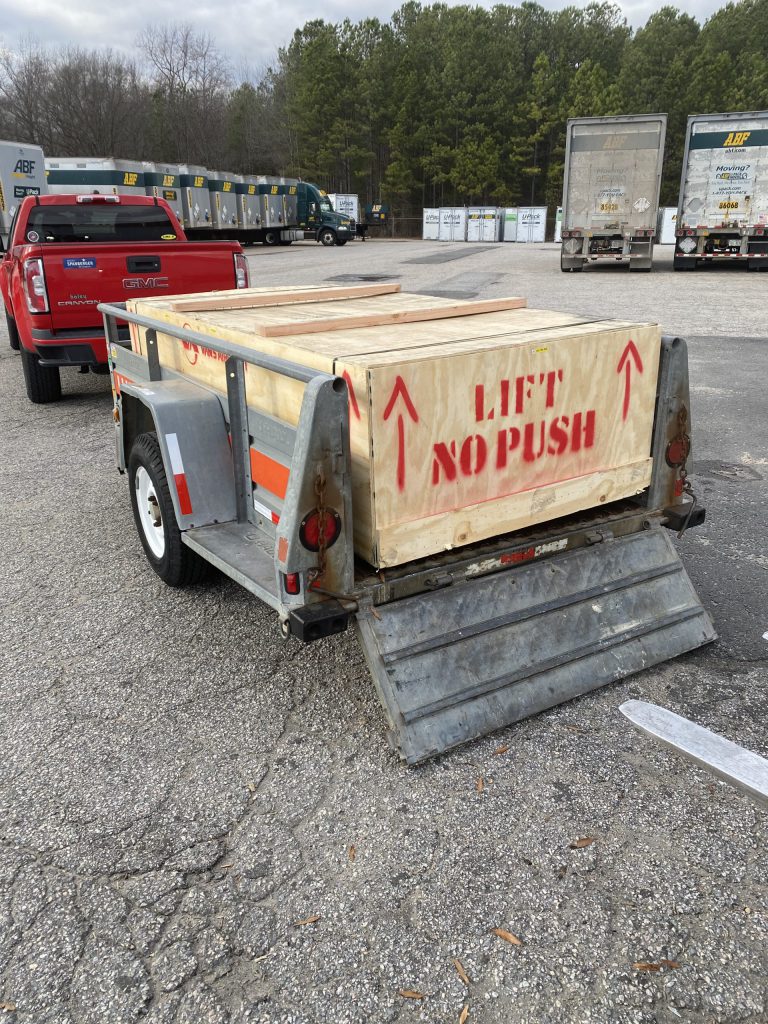
I picked it up at the ABF freight terminal this afternoon. No damage to the box. I found out that a friend of mine is the loading dock foreman there so he helped me get this BIG box onto the trailer (it just fit on the 5×10 U-Haul trailer). The only problem is that I had no way to unload it at the house other than to open it and remove all the parts. On perhaps the most windy day of the year I had packing paper flying everywhere.
Now the canopy and the back window plexi-glass are safely upstairs in the house where it is reasonably warm. The rest of the stuff is downstairs ready to be inventoried.
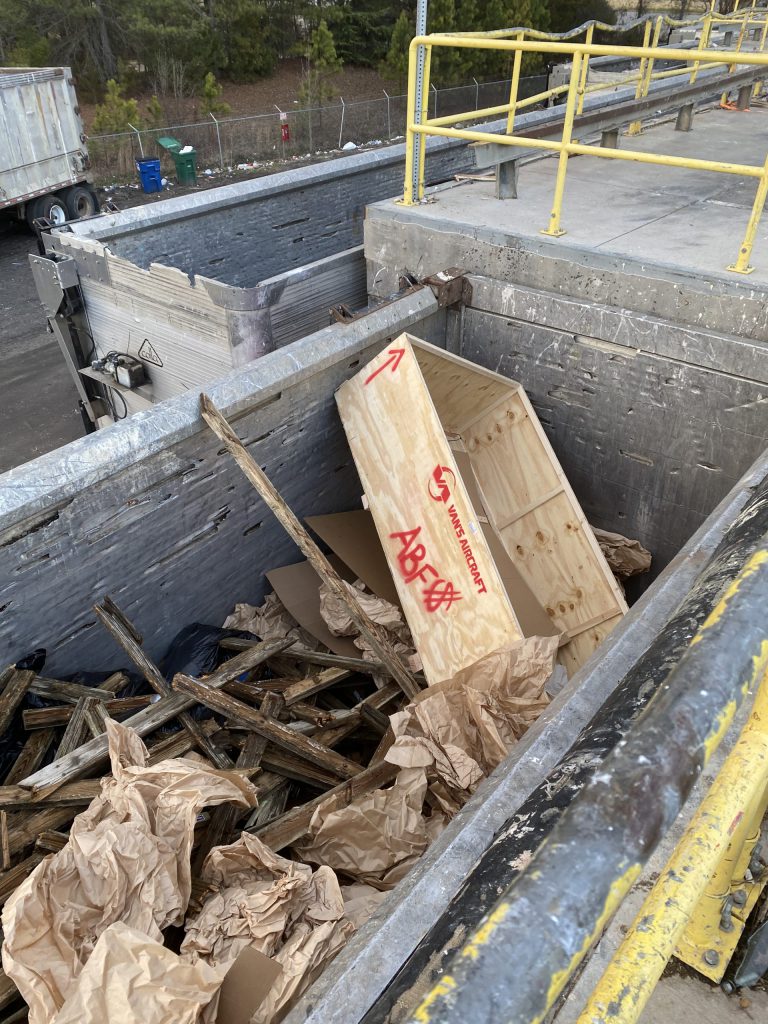
The shipping container ended it’s life at the county dump.
There were a few things on back order, but now I will be able to continue building for awhile.
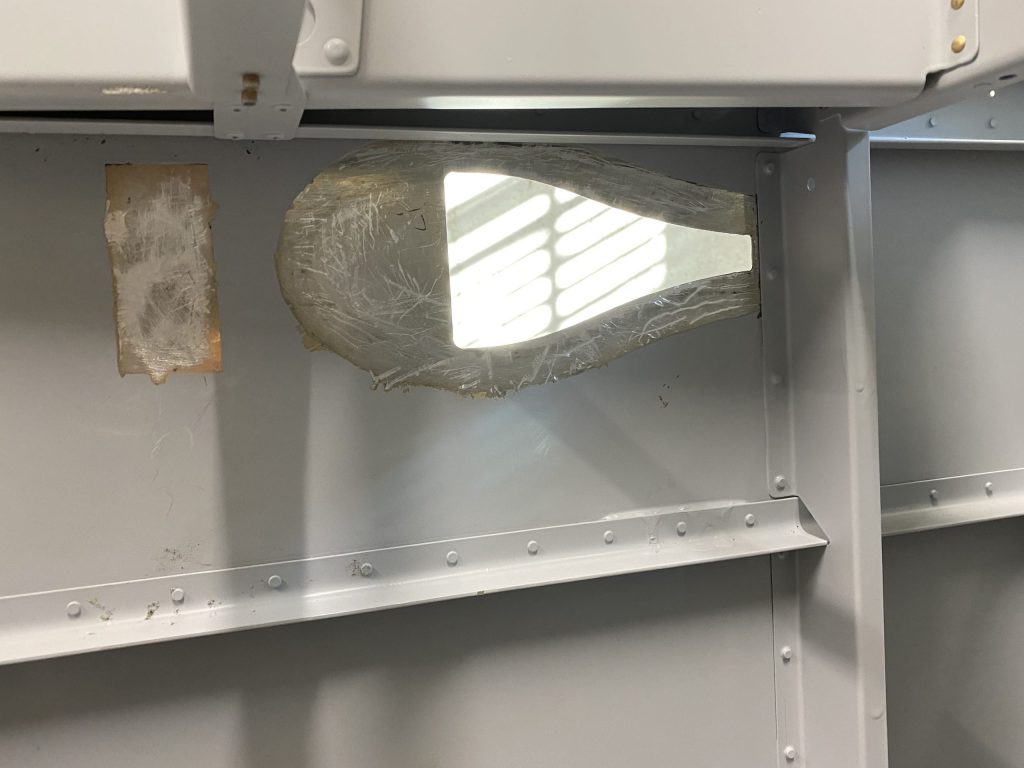
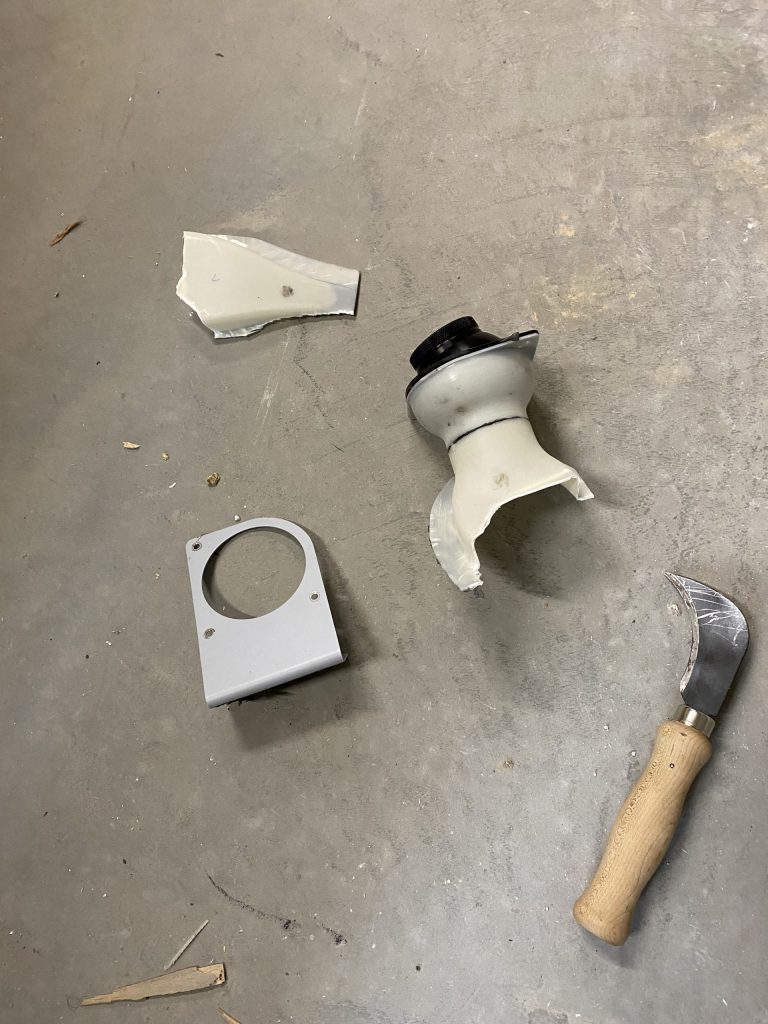
Somehow when I installed it the NACA vent on the left side moved backward about half an inch. I didn’t notice it for a day or so and by that time the ProSeal had set up completely. My first inclination was to leave it as is and “repair” it with a bit of extra fiberglass. Jon and I discussed it and decided to remove the vent.
Using a safety knife and a carpet knife I was able to cut through most of the ProSeal to remove the vent. Unfortunately, during the process I had to destroy the vent itself.
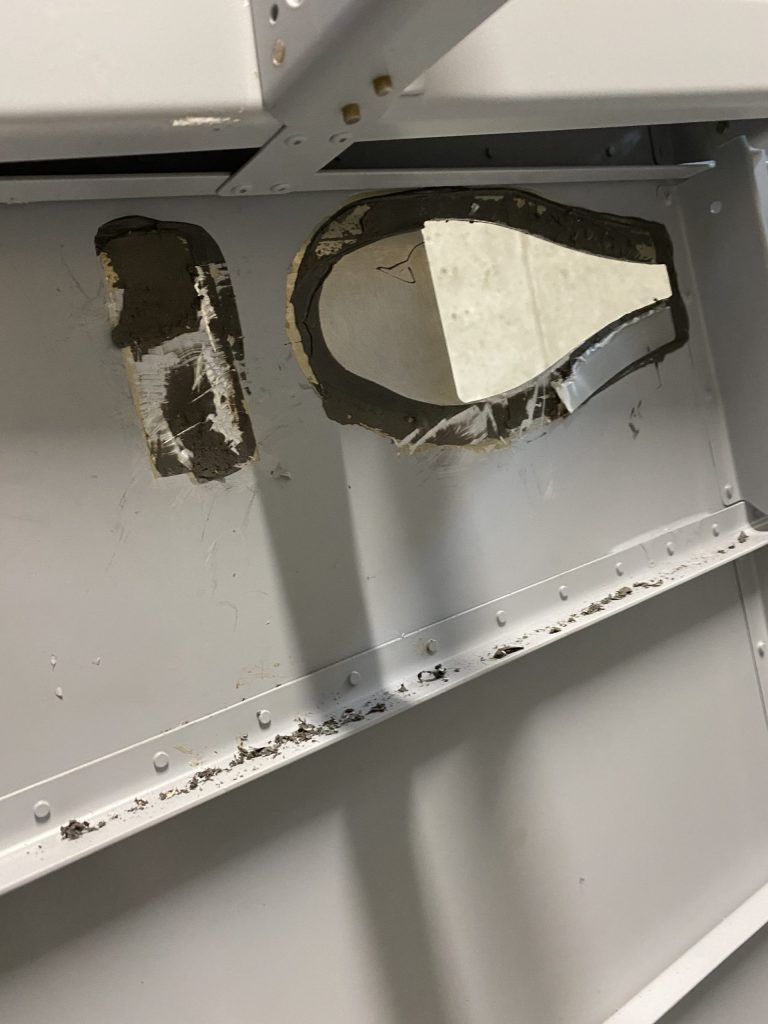
I salvaged the eyeball part ($160) but will have to re-buy the fiberglass NACA vent which isn’t too expensive. I have about another hour of effort to remove the last of the ProSeal that is still on the inside of the fuselage skin.
Hours: 2
It looks uglier than it actually is. With a bit of scraping and some chemical treatment I think I can remove the last of the ProSeal.
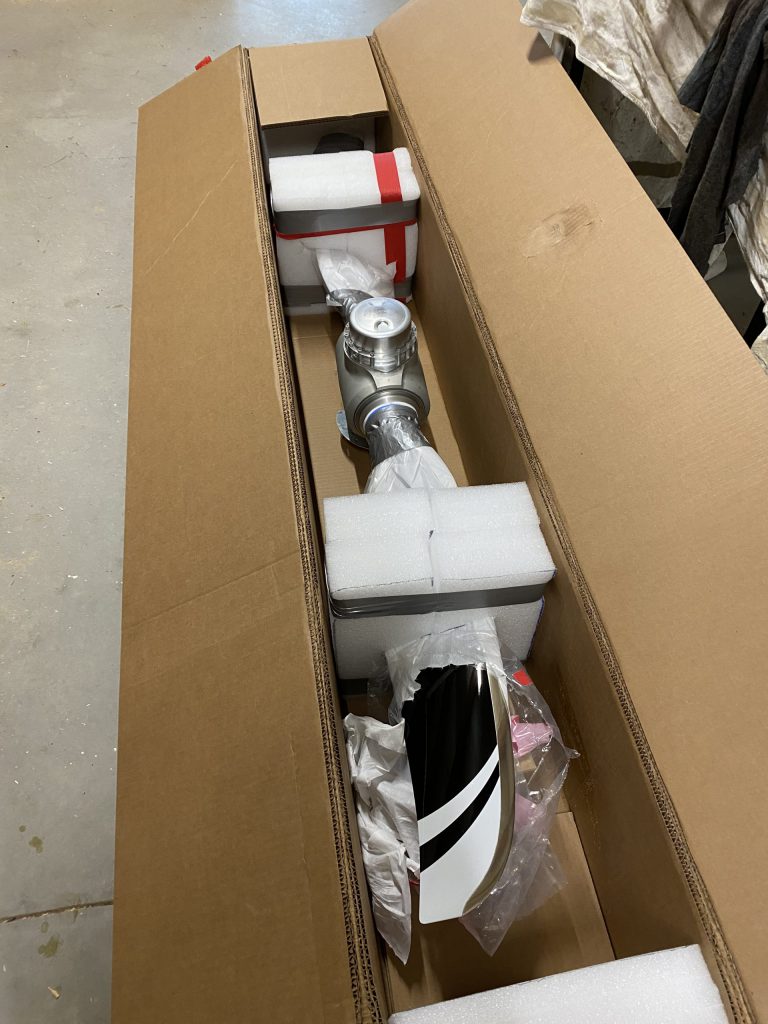
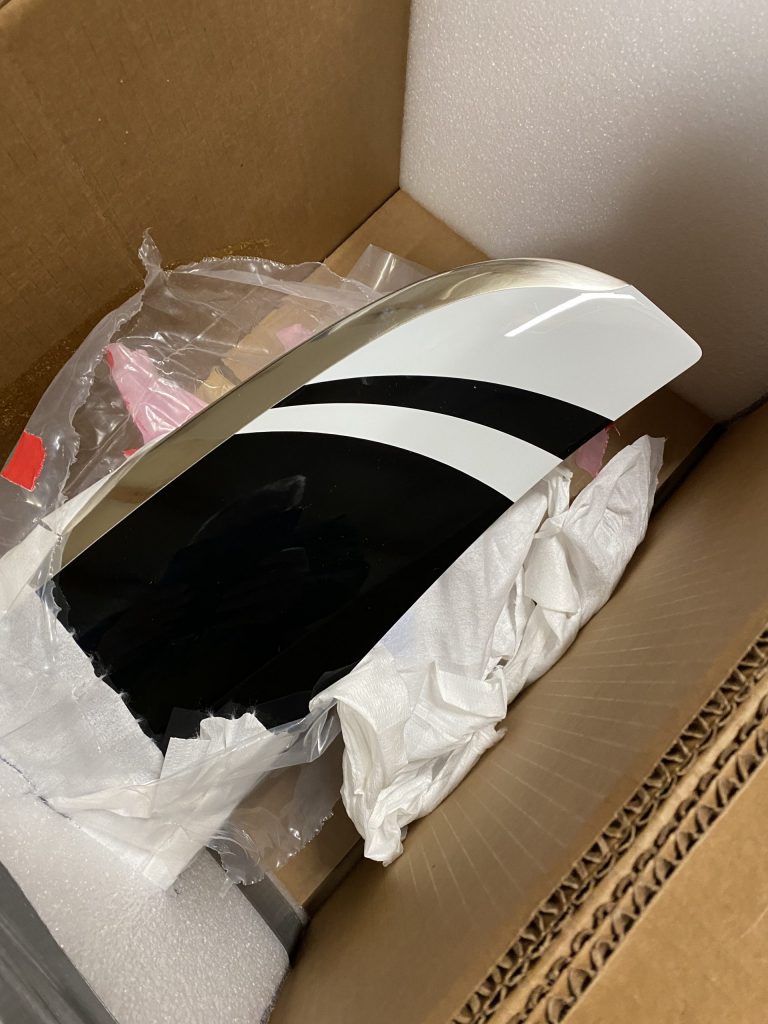
The Whirlwind propeller arrived today and it is beautiful. I opened the box just to look at it despite not being able to do anything with it for at least three months.
Meanwhile, I got news that the finish kit will arrive at the freight terminal next Friday. It weighs 411 lbs and is 98″ x 49″ x 30″. The shipping charges were $770.00. If I had had it delivered to the house it would have cost an additional $70. I wasn’t sure when I was going to be home so I decided to just have it shipped to the terminal and then I can rent a trailer to go get it.
The panel is still being built at SteinAir. According to Nick, the panel has been cut and painted, but the technicians still have 4 to 5 panels in front of it. Still guessing it will be mid-April.